BGMI Weapon Tier List - Rank Every Gun To Win More Fights
Stop guessing which gun is best. This BGMI weapon tier list ranks weapons with S–F tiers and scores for power, control, and versatility - pick smarter loadouts.
Mar 03, 202613.4K Shares232.6K Views

BGMI Weapon Tier List: S - F Rankings Explained With A 100-point Score System
BGMI metas come and go, but the reason a gun feels broken rarely changes: it wins more fights with fewer conditions less recoil tax, fewer attachments needed, more ranges covered. This tier list is built around that idea, so you can stop guessing and start picking weapons that fit the fights you actually take.
I’m ranking these the same way you win real matches: not just raw damage, but how consistently a weapon performs under pressure with realistic loot and attachments.
Rating Measures Used To Rank Every Gun
Each weapon gets a Strategist Score /100 based on five match-winning factors.
| Measure | What it rewards (Weight) |
| Power | TTK potential, burst damage, punish value (30%) |
| Control | Recoil, stability, ease of consistent hits (25%) |
| Versatility | How many ranges/roles does it cover well (20%) |
| Availability | How often can you realistically run it (15%) |
| Build-Friendliness | How good it is without perfect attachments (10%) |
Tier Thresholds
- S:90–100
- A:80–89
- B:70–79
- C:60–69
- D:50–59
- E:40–49
- F:<40
Weapon pool and categories referenced from a comprehensive PUBG Mobileweapon portal BGMI shares the same core weapon ecosystem.
Weapon Coverage Index
| Category | Weapons covered in this article |
| Assault Rifles (AR) | M416, AUG, Groza, Beryl M762, AKM, SCAR-L, ACE32, Honey Badger, QBZ, FAMAS, Mk47 Mutant, G36C, M16A4 |
| SMGs | UZI, Vector, UMP45, P90, MP5K, PP-19 Bizon, Thompson |
| DMRs | Mk14, SLR, Mini14, SKS, QBU, Mk12, VSS |
| Snipers (SR) | AWM, AMR, Kar98k, Mosin Nagant, M24, DRS, Win94 |
| Shotguns | DBS, M1014, S12K, S1897, NS2000, S686 |
| LMGs | MG3, DP-28, M249 |
| Pistols | Desert Eagle, P18C, Skorpion, P1911, P92, R45, R1895 |
| Crossbows | Crossbow, Tactical Crossbow |
| Melee/Utility | Pan, Crowbar, Sickle, Machete, Dagger, Flare Gun |
| Special | Dual MP7 |
S Tier (90–100): Best-in-class, Minimal Excuses
These weapons win the largest share of real fights with the smallest number of ifs.
M416 (AR)
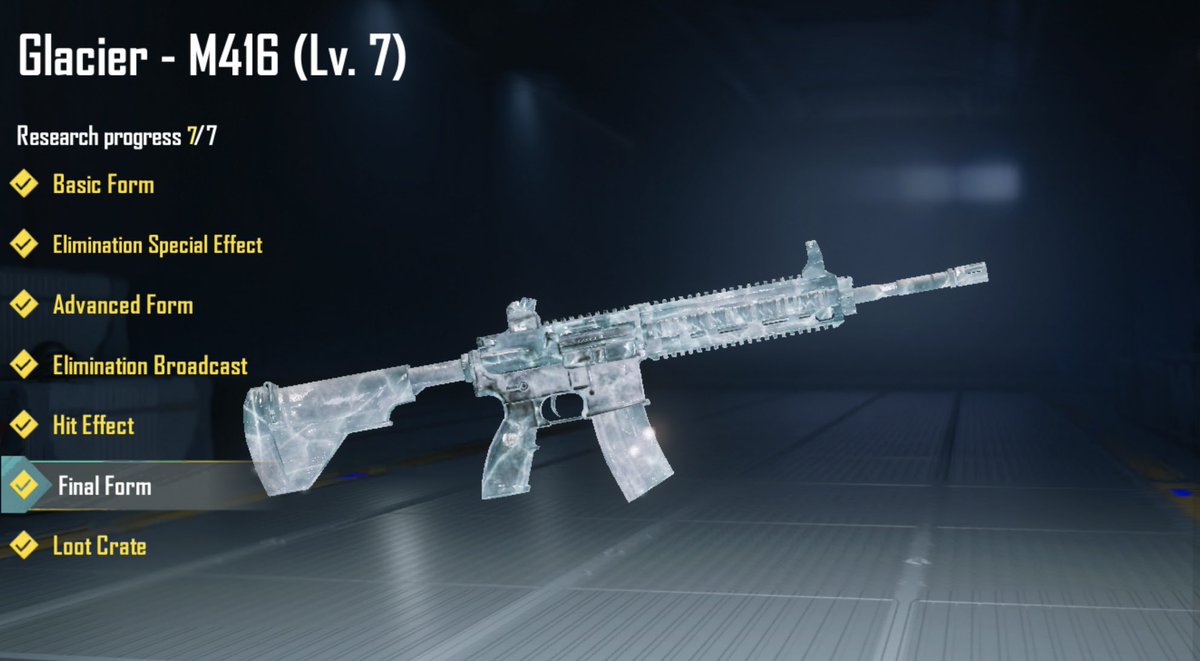
M416 sits in S-tier because it’s the most forgiving do-everything AR: it stays stable while you track, it scales hard with attachments, and it doesn’t force you into one range.
In an illustrative late-circle fight, the M416 is the gun that lets a player snap from a 40m spray to a 10m correction without feeling like they swapped weapons mid-fight.
- Score:94/100
- Power:8.5
- Control:9.5
- Versatility:9.5
- Availability:8
- Build:9
AUG (AR)
AUG earns S-tier because it behaves like a premium beam rifle: strong mid-range reliability and high confidence when holding angles. It’s the kind of AR that turns I think I can win this peek into I know I can win this peek.
It also stays dependable when the fight gets messygreat for anchors and rotators who need consistency more than highlight-reel recoil.
- Score:92/100
- Power:8.5
- Control:9
- Versatility:9
- Availability:7
- Build:8.5
Groza (AR)
Groza is S-tier because its close-to-mid kill pressure is insane when a push becomes a brawl. Groza ends it fast. The only reason it’s not free wins is availability; you won’t run it every match.
If you like taking space aggressively stairs, doorways, wide swings, Groza rewards that tempo better than almost any ground AR.
- Score:91/100
- Power:9.5
- Control:7.5
- Versatility:8.5
- Availability:6.5
- Build:9
Beryl M762 (AR)
M762 is S-tier for players who can pay the recoil bill. It melts fast, punishes hard, and rewards confident swing timings.
If someone takes messy sprays, it drops to A-tier for thembut in capable hands, it’s a lobby problem.
- Score:90/100
- Power:9.5
- Control:7
- Versatility:8.5
- Availability:8
- Build:7
UZI (SMG)
UZI is S-tier because it deletes in the one place most players die: doorways, stairs, and surprise 1v1s. The recoil is manageable up close, and its availability makes it a consistent early-game carry.
If you’re a rusher who lives in close angles, UZI turns fair fights into fast wipes.
- Score:92/100
- Power:9
- Control:8.5
- Versatility:7.5
- Availability:9
- Build:8.5
Vector (SMG)
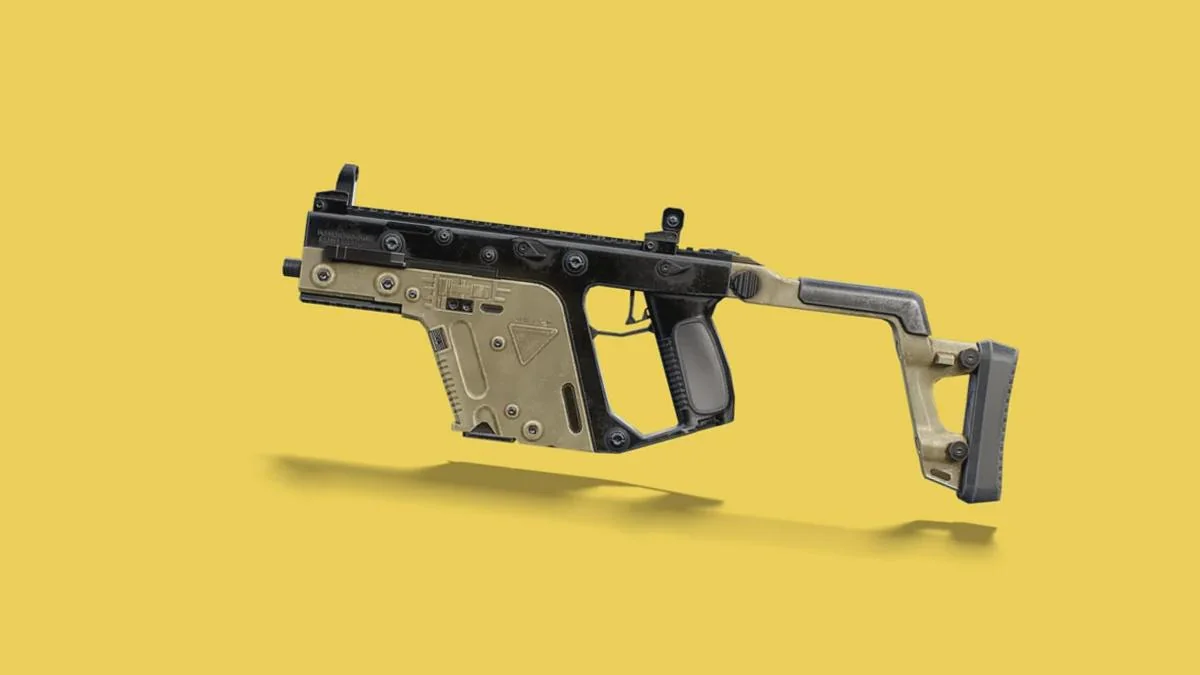
Vector hits S-tier because its close-range DPSfeels unfair when you track well. It does demand mag discipline, miss too much, and reloading gets you killed so it’s S-tier for confident close-fight players.
When you pair it with a stable AR, you cover both panic rooms and mid-range resets cleanly.
- Score:90/100
- Power:9.5
- Control:8
- Versatility:7
- Availability:8
- Build:7.5
UMP45 (SMG)
UMP45 is S-tier because it’s the most consistent. I just want to win close fights, SMG. It forgives imperfect recoil control and still stays useful beyond point-blank.
For most players climbing ranks, UMP is the easiest way to turn chaotic fights into repeatable wins.
- Score:91/100
- Power:8
- Control:9.5
- Versatility:8
- Availability:9
- Build:9
P90 (SMG)
P90 lands in S-tier because it’s built for sustained close-range dominance. When a player is forced into fast multi-enemy trades inside compounds, this gun keeps pressure up longer than most SMGs.
It’s a hold W weapon that still has enough control to stay accurate while moving.
- Score:90/100
- Power:9
- Control:8.5
- Versatility:7.5
- Availability:6.5
- Build:9
Mk14 (DMR)
Mk14 is S-tier because it’s basically two weapons: a DMR that slaps at range and a panic-delete tool up close in the right hands. Its only real drawback is finding it reliably.
If your squad plays around crate advantage, Mk14 becomes a win-condition weapon.
- Score:95/100
- Power:10
- Control:7.5
- Versatility:9
- Availability:6
- Build:8
SLR (DMR)
SLR is S-tier because it turns clean peeks into quick knocks. In a ridge fight, the SLR player dictates tempo: enemies can’t re-peek casually because every tag is expensive.
It’s also one of the best punishment tools for teams that overexpose during rotations.
- Score:92/100
- Power:9.5
- Control:7.5
- Versatility:9
- Availability:8
- Build:8
Mini14 (DMR)
Mini14 is S-tier because it’s the most reliable long-range tap gun for most players. It rewards calm tracking and rapid follow-ups without demanding perfect recoil timing.
If you want consistent damage output rather than huge highs and lows, Mini is the safe elite choice.
- Score:90/100
- Power:8.5
- Control:9
- Versatility:8.5
- Availability:8
- Build:8
AWM (SR)
AWM is the definition of S-tier: it changes how opponents move, peek, and rotate. Even when a player misses one shot, the threat forces enemies to play scared.
It’s the most reliable one-peek fight flip tool in the game when you can secure it.
- Score:96/100
- Power:10
- Control:9
- Versatility:9
- Availability:5.5
- Build:9
AMR (SR)
AMR is S-tier for raw impact when it’s in your hands; you can break stalemates and punish cover reliance. It’s not always available, but when it shows up, it’s match-warping.
In end zones with limited hard cover, AMR pressure can force rotations that don’t want to happen.
- Score:93/100
- Power:10
- Control:8.5
- Versatility:8.5
- Availability:5.5
- Build:8.5
DBS (Shotgun)
DBS is S-tier because it ends indoor fights instantly. In a stair push scenario, DBS lets a player take space aggressively. Two fast blasts erase the enemy’s trade window.
If you plan to own buildings, DBS turns entries into guaranteed pressure.
- Score:91/100
- Power:9.5
- Control:8
- Versatility:6.5
- Availability:7
- Build:9
M1014 (Shotgun)
M1014 hits S-tier because it’s the most repeatable shotgun in real fights: fast follow-ups, strong room-clearing, and less punishing than pump timing.
It’s the shotgun that feels strong even when the fight is chaotic, and you don’t get perfect peeks.
- Score: 90/100
- Power: 9
- Control: 8.5
- Versatility: 6.5
- Availability: 7
- Build: 9
MG3 (LMG)
MG3 is S-tier because it’s suppression with teeth. In squad fights, it doesn’t just deal damageit removes options no easy peeks, no comfy revives, no free rotations.
If your team likes forcing fights, MG3 turns pressure into territory.
- Score: 90/100
- Power: 9.5
- Control: 7
- Versatility: 8.5
- Availability: 6
- Build:8
Tier takeaway: S-tier weapons reduce how perfect you need to play to win.
A Tier (80–89): Strong And Reliable, Slightly More Conditional
AKM (AR)
AKM is A-tier because it’s brutally effective when shots land, but recoil makes it less consistent for long sprays. In mid-range fights, it’s terrifying; beyond that, it asks for discipline.
If you’re a burst/tap player who picks clean peeks, AKM’s payoff feels higher than its tier suggests.
- Score: 88/100
- Power: 9.5
- Control: 6.5
- Versatility: 8
- Availability: 9
- Build: 8
SCAR-L (AR)

SCAR-L is A-tier because it’s the steady paycheck AR: reliable, controllable, and effective across typical ranges. It rarely feels broken, but it rarely feels bad either.
For newer players, SCAR-L often performs like an S-tier because control is what wins their fights.
- Score: 86/100
- Power: 8
- Control: 9
- Versatility: 8.5
- Availability: 8.5
- Build: 8.5
ACE32 (AR)
ACE32 sits in A-tier as a flexible 7.62 AR that can be built for stable sprays or punchy bursts. It’s strong, but usually not as universally forgiving as the very top ARs.
If you like 7.62 tempo but don’t want full Beryl chaos, ACE32 is the smart middle.
- Score: 85/100
- Power: 9
- Control: 7.5
- Versatility: 8
- Availability: 8
- Build: 7.5
Honey Badger (AR)
Honey Badger is A-tier because it’s a fast-feeling AR with good pressure potential, but it’s not always present in every match’s loot ecosystem. When found, it’s a solid primaryjust not an automatic best choice.
In close-to-mid brawls, it feels smoother than many players expectgreat for proactive play.
- Score: 84/100
- Power: 8.5
- Control: 7.5
- Versatility: 8
- Availability: 7.5
- Build: 8
QBZ (AR)
QBZ is A-tier as a consistent mid-range AR, but it’s more map/loot dependent than the most universal options. It shines when you’re consistently fighting 30–80m engagements.
If your lobby funnels you into compound fights and short rotations, QBZ stays efficient and calm.
- Score: 83/100
- Power: 8
- Control: 8.5
- Versatility: 8
- Availability: 7
- Build: 8
FAMAS (AR)
FAMAS is A-tier because its high-tempo identity is real, but it’s not as flexible in every fight and may be less consistently available. It’s dangerous in the right hands, yet more situational pressure than always-pick.
When fights collapse into close-range chaos, FAMAS can feel like a cheat codeif you’re ready for it.
- Score: 82/100
- Power: 9
- Control: 7
- Versatility: 7.5
- Availability: 6
- Build: 8
Mk47 Mutant (AR)
Mk47 is A-tier for players who love burst discipline. It rewards clean timing and punishes spam. If someone’s fights are chaotic and close, this gun feels worse if fights are structured, it feels great.
It’s also a strong choice for players who prefer controlled taps over long sprays.
- Score: 80/100
- Power: 8.5
- Control: 7.5
- Versatility: 7.5
- Availability: 8
- Build: 7.5
MP5K (SMG)
MP5K is A-tier because it’s stable and dependable, especially when controlling close-range tracking. It’s not as explosive as UZI/Vector, but it’s far easier to just use well.
If you’re a consistent player not a gamble player, the MP5K is a great climbing weapon.
- Score: 84/100
- Power: 7.5
- Control: 9
- Versatility: 7.5
- Availability: 7
- Build: 8.5
PP-19 Bizon (SMG)
Bizon is A-tier because it trades peak DPS for comfort: long sprays, fewer reload losses, and easy control. It’s perfect for players who want consistency over highlight reels.
In extended close fights, it wins by simply not making you reload at the worst time.
- Score: 82/100
- Power: 7
- Control: 9
- Versatility: 7
- Availability: 8
- Build: 9
Thompson (SMG)
Thompson is A-tier: strong in close fights, stable enough to trust, and widely usable. It’s just not as lethal-per-second as the top SMGs when both players hit shots.
It shines early and mid-game when fights are frequent, and you want reliable spray volume.
- Score: 81/100
- Power: 7.5
- Control: 8.5
- Versatility: 7
- Availability: 8
- Build: 8
SKS (DMR)
SKS is A-tier because it’s a serious damage tool that becomes elite when controlled well. It demands rhythm and recoil management; when that’s there, it’s a knock factory.
If you like heavy taps with high reward, SKS fits that identity perfectly.
- Score: 86/100
- Power: 8.5
- Control: 7.5
- Versatility: 8.5
- Availability: 8
- Build: 7.5
QBU (DMR)
QBU is A-tier as a reliable ranged option, but it’s more map-tied. In the right loot environment, it’s a clean hold angles, and farm tags weapon.
It’s best when you take calm peeks and value consistent hit rates over flashy bursts.
- Score: 83/100
- Power: 8.5
- Control: 8
- Versatility: 8
- Availability: 7
- Build: 8
Mk12 (DMR)
Mk12 is A-tier because it’s a stable, repeatable DMR for players who like consistent long-range pressure. It doesn’t hit quite as hard as the S-tier bruisers, but it’s easier to run clean.
If you’re building a low-mistake loadout, Mk12 is a great long-range backbone.
- Score: 82/100
- Power: 8
- Control: 8.5
- Versatility: 8
- Availability: 7
- Build: 8
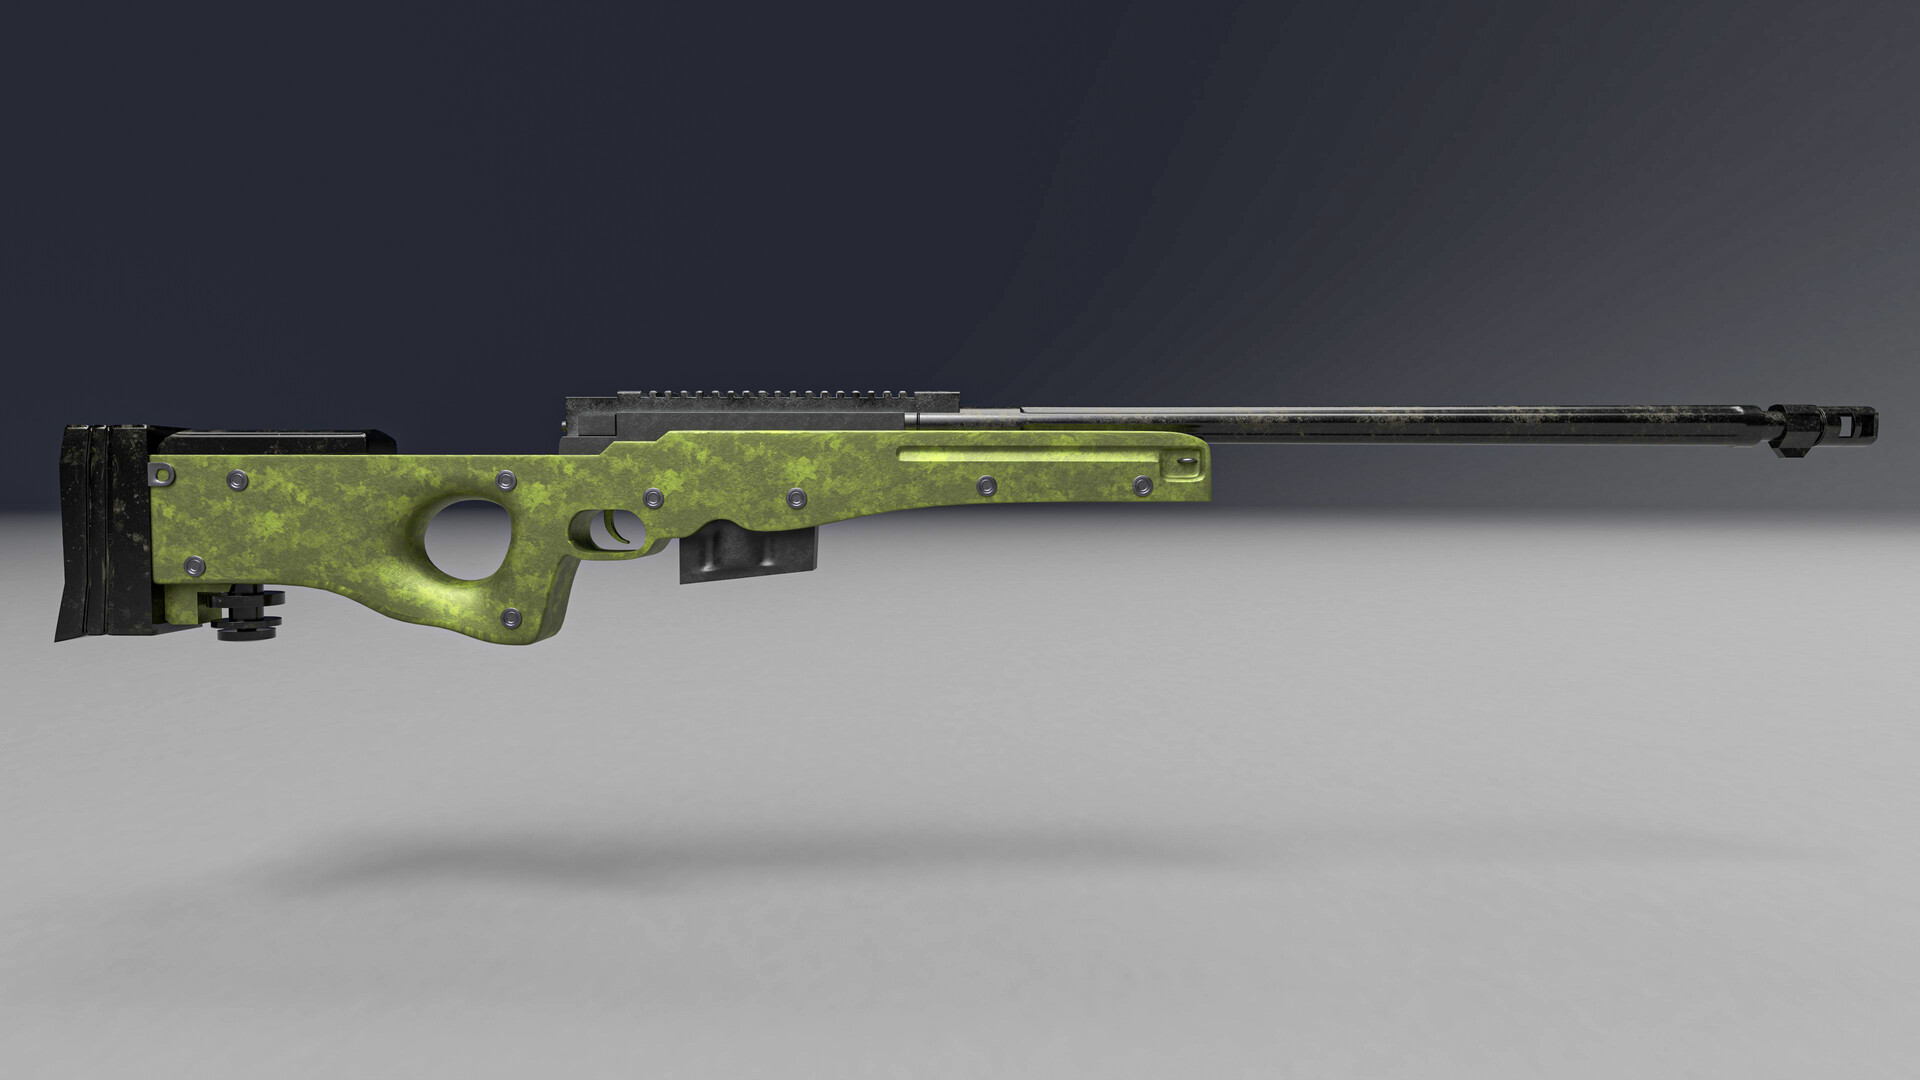
Kar98k (SR)
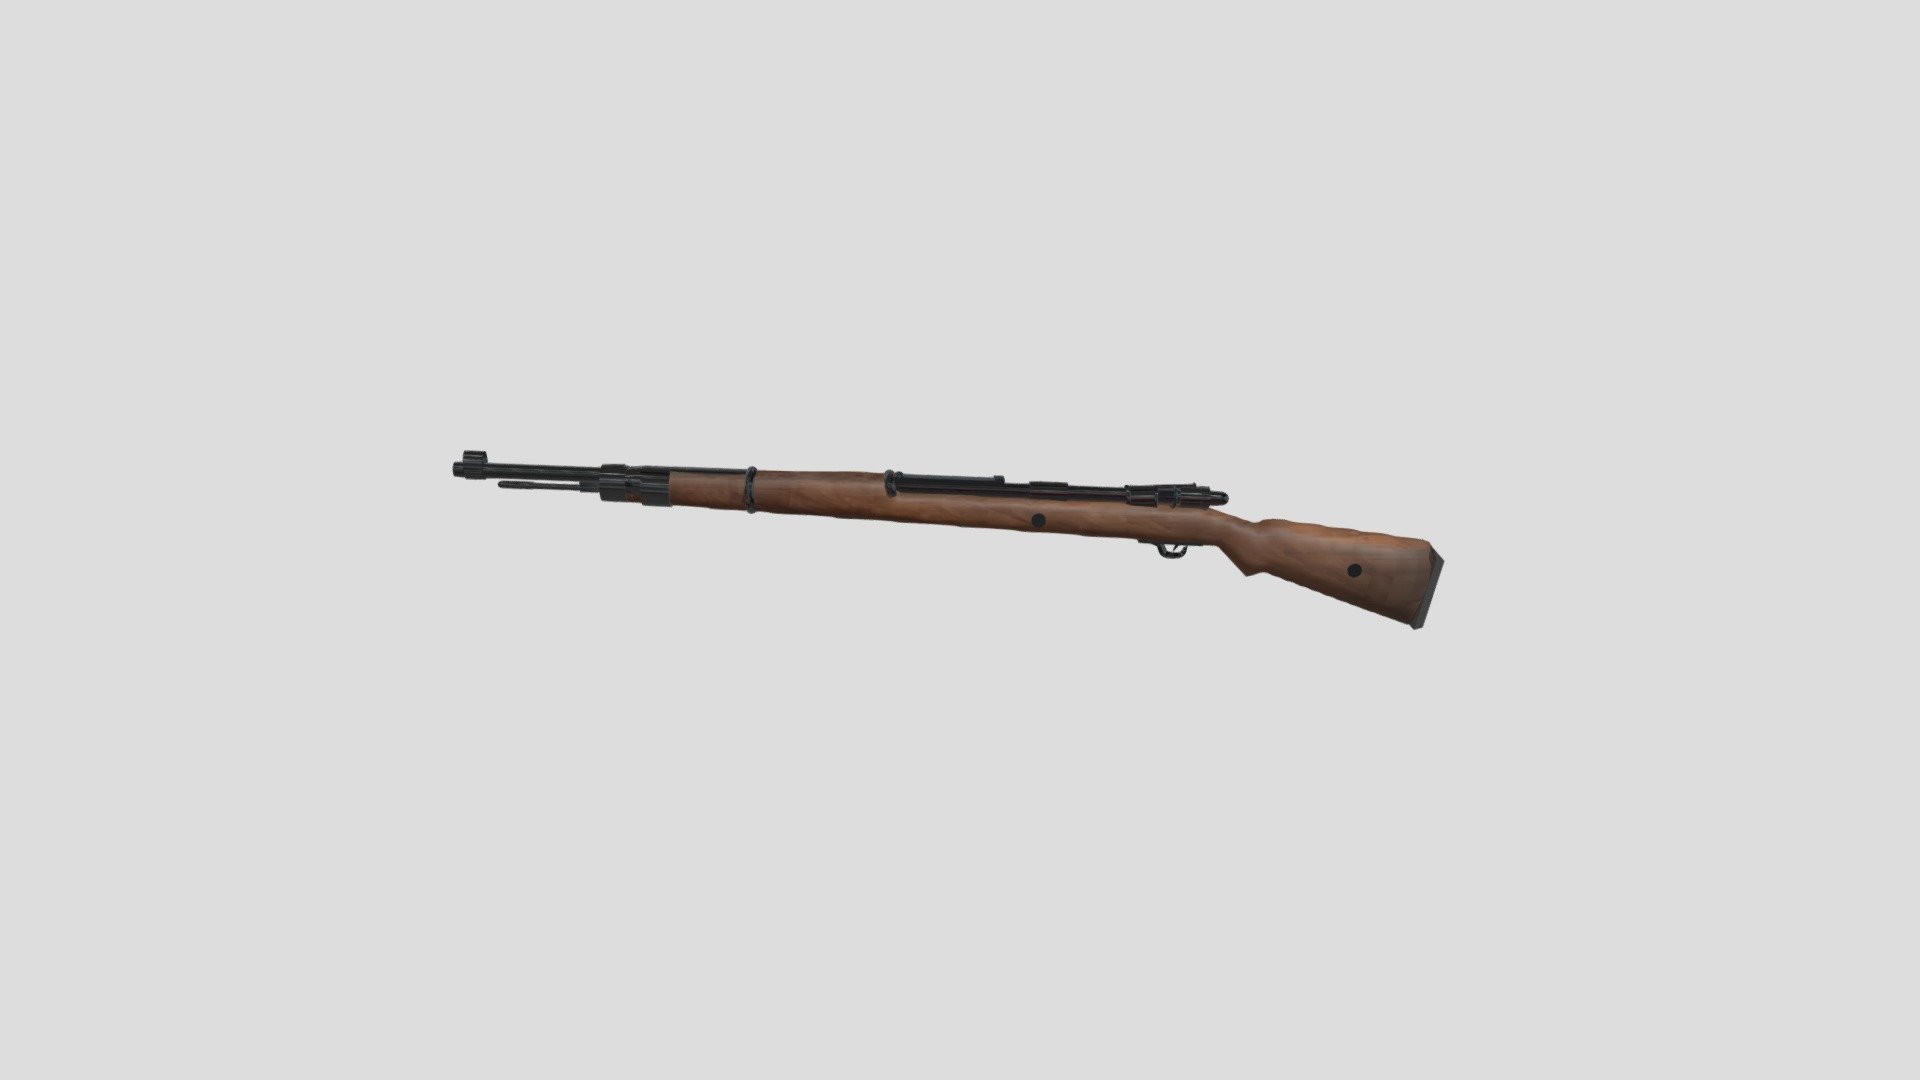
Kar98k is A-tier because bolt sniping is high impact one good peek can flip a fight. The reason it’s not S-tier is consistency: missing a bolt shot can cost tempo in fast lobbies.
If your first-shot accuracy is strong, Kar98k plays like an S-tier weapon for you.
- Score: 85/100
- Power: 9
- Control: 8
- Versatility: 8
- Availability: 8
- Build:8
Mosin Nagant (SR)
Mosin is A-tier as a Kar98k-style bolt that rewards clean peeks and confident repositioning. If a player hits first shots, it feels top-tier; if they don’t, it feels like a slow gamble.
It’s best for players who take fewer shots, but make them count.
- Score: 85/100
- Power: 9
- Control: 8
- Versatility: 8
- Availability: 7
- Build: 8
M24 (SR)
M24 is A-tier because it’s a dependable bolt option that supports consistent sniping without needing crate luck. It’s slightly less terrifying than the biggest snipers, but far more available.
For steady long-range play, M24 often gives better match-to-match value than chasing crates.
- Score: 83/100
- Power: 8.5
- Control: 8
- Versatility: 8
- Availability: 8
- Build: 8
DRS (SR)
DRS sits in A-tier because it’s powerful and viable, but it’s not always the most efficient pick versus classic bolt play. It shines when a player can exploit its strengths instead of forcing it.
Think of it as a specialist rifle: strong, but not always the fastest win-condition.
- Score: 80/100
- Power: 9
- Control: 7
- Versatility: 7.5
- Availability: 7.5
- Build: 7
S12K (Shotgun)
S12K is A-tier because semi-auto follow-ups can win messy rooms. It’s not as instantly decisive as the top shotguns, but it’s strong when you keep fights tight.
If your entries are aggressive and you like fast trades, S12K is a practical, repeatable pick.
- Score: 82/100
- Power: 8
- Control: 8.5
- Versatility: 6
- Availability: 8
- Build: 8
S1897 (Shotgun)
S1897 is A-tier because pump timing rewards players who understand corners and baiting. It’s lethal with discipline; it’s punished when fights become frantic.
Use it like a trap weapon: control the angle, don’t chase open space.
- Score: 80/100
- Power: 8.5
- Control: 7.5
- Versatility: 6
- Availability: 8
- Build: 8
NS2000 (Shotgun)
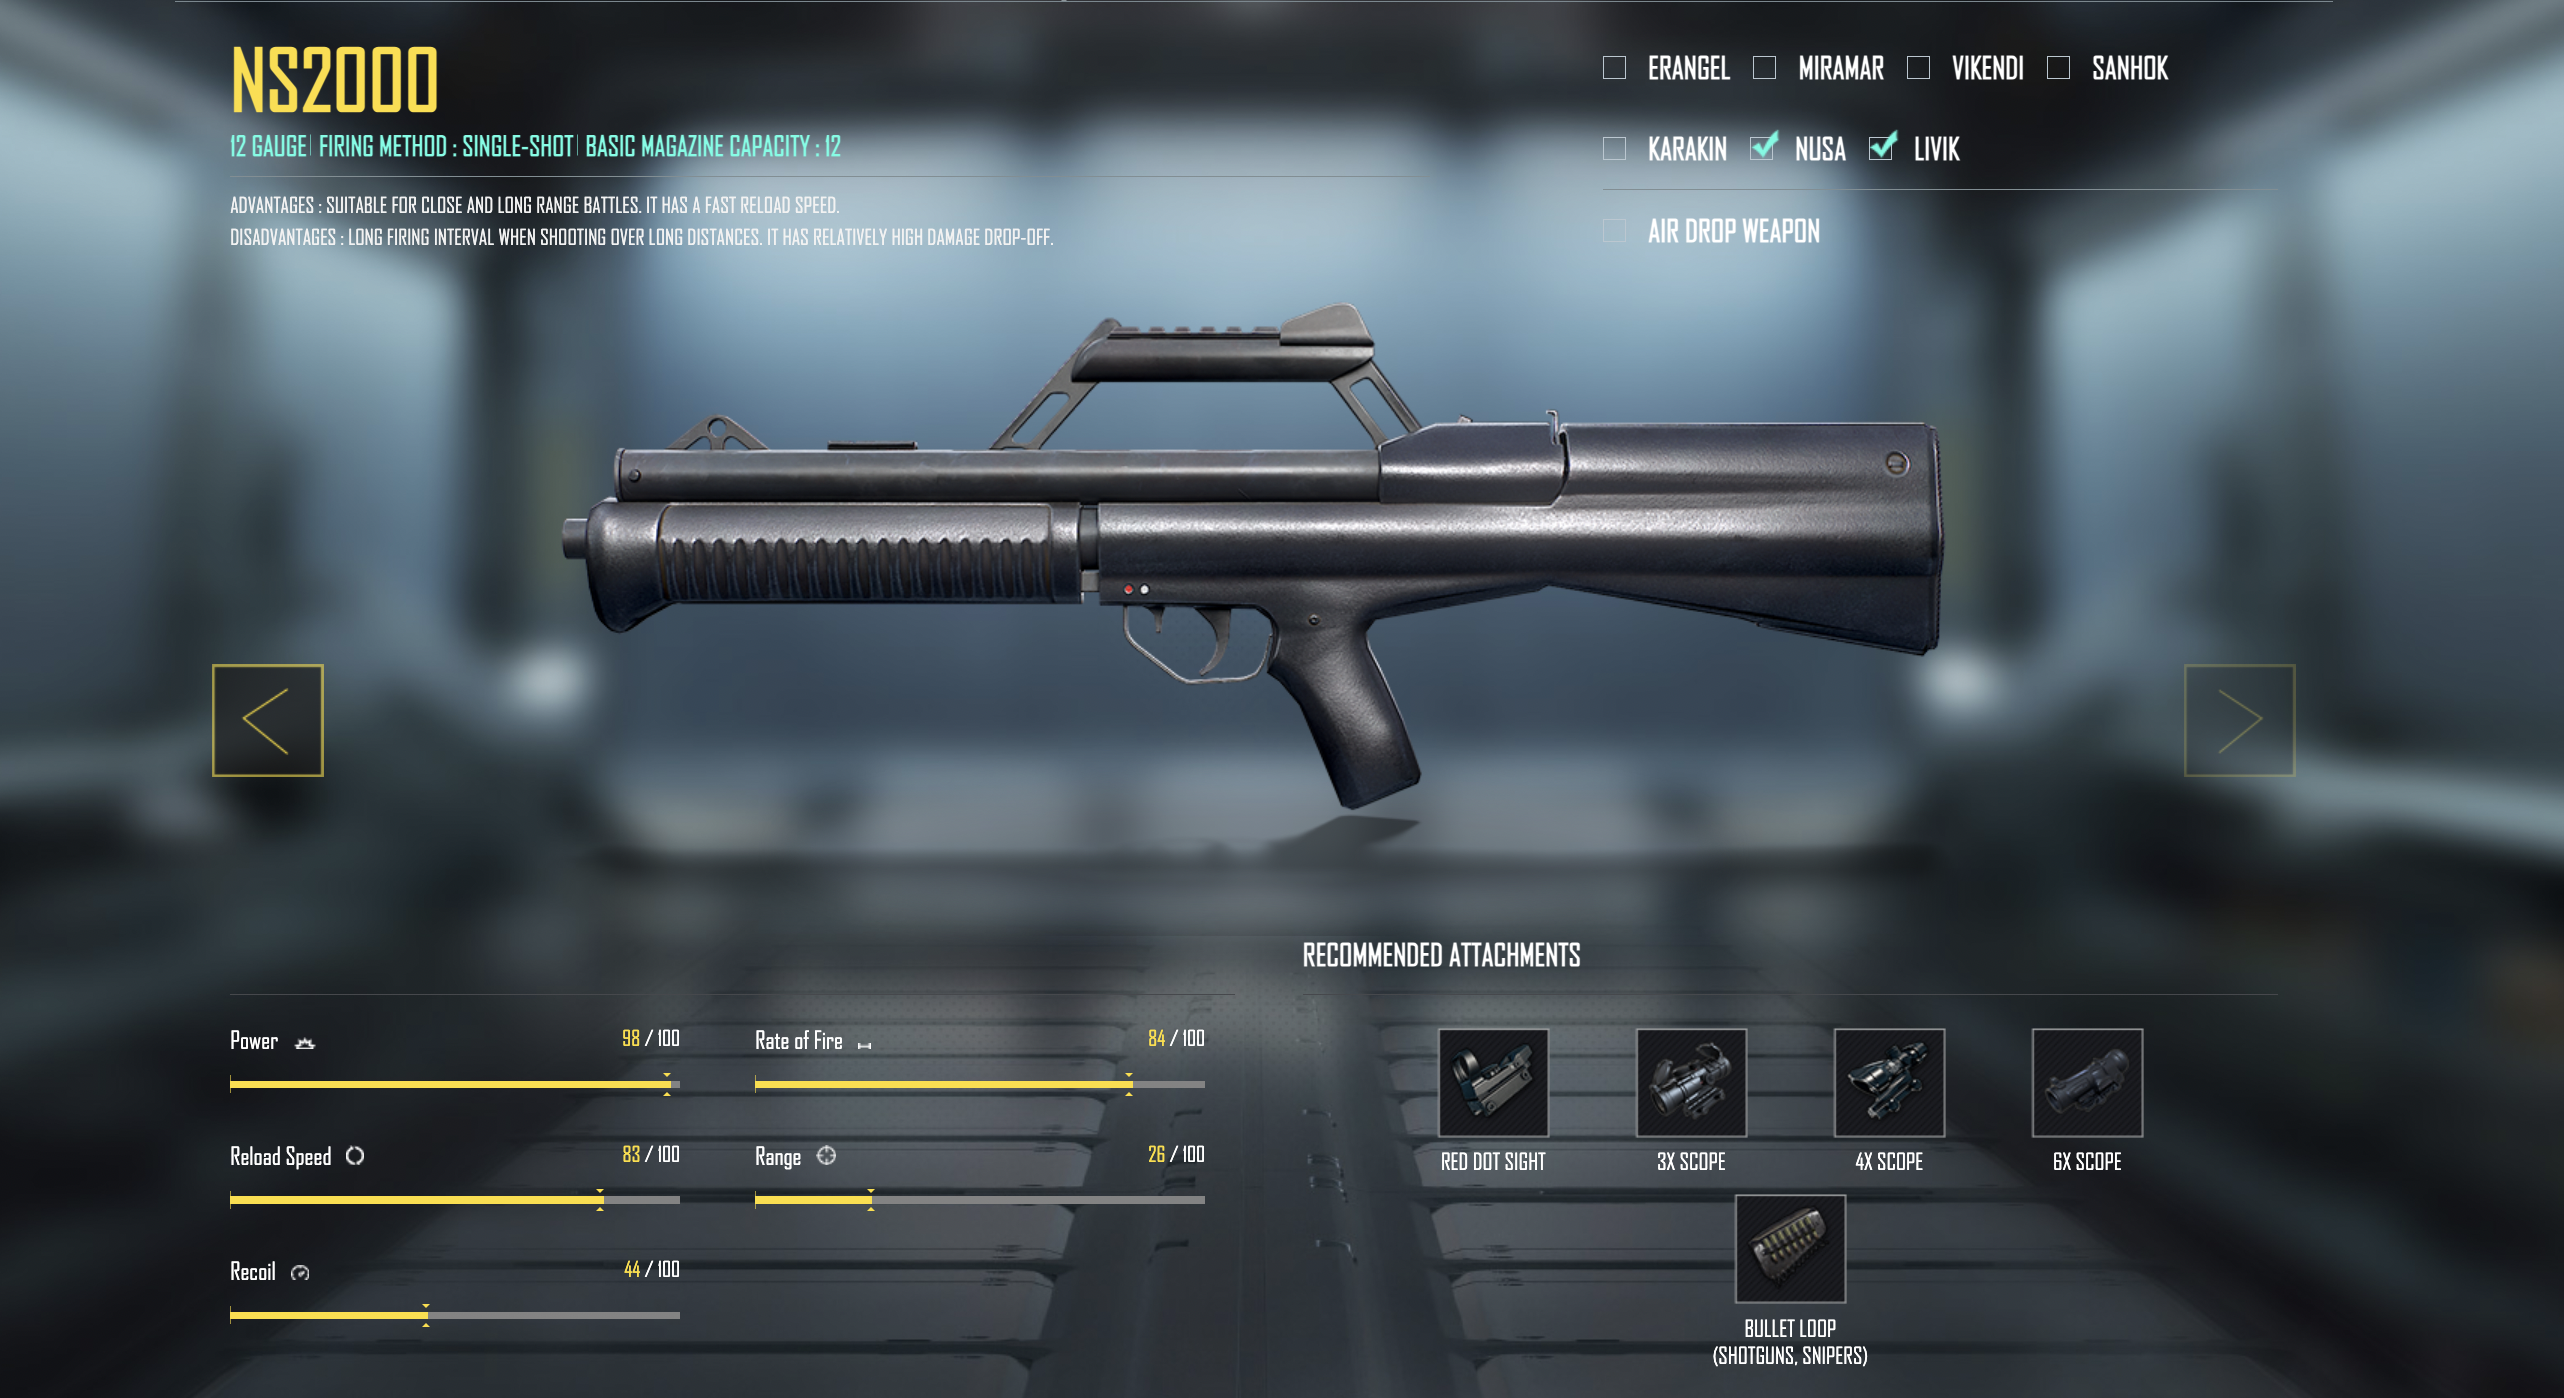
NS2000 is an A-tier as a strong close-range tool with practical room-clear value. It doesn’t dominate every shotgun matchup, but it’s consistent when played to its range.
If you want a shotgun that feels less coin flip, NS2000 is a safe choice.
- Score: 80/100
- Power: 8
- Control: 8
- Versatility: 6.5
- Availability: 7
- Build: 8.5
DP-28 (LMG)
DP-28 is A-tier because it’s a positional monster. When someone anchors a ridge or holds a rotation line, DP-28 turns enemy peeks into expensive decisions.
If your role is support/anchor, DP-28 often performs above its tier because it matches your job perfectly.
- Score: 84/100
- Power: 8.5
- Control: 7.5
- Versatility: 8
- Availability: 8
- Build: 8
M249 (LMG)
M249 is A-tier as sustained pressure and vehicle punishment. It’s strong, but heavy reload windows and handling prevent it from feeling as universally unfair as MG3.
In squad fights, the M249 is best when your team plays around the reload timing and keeps you protected.
- Score: 83/100
- Power: 8
- Control: 7
- Versatility: 8
- Availability: 8
- Build: 7.5
Desert Eagle (Pistol)
Deagle is A-tier because it turns good aim into early fight wins. It’s not a long-term primary solution, but it’s one of the best pistols for converting skill into immediate value.
If you’re forced into pistol fights, Deagle gives you the highest punish value per shot.
- Score: 81/100
- Power: 8.5
- Control: 7
- Versatility: 6.5
- Availability: 8
- Build: 7
P18C (Pistol)
P18C earns an A-tier for pure survival value: when the drop is scuffed, this pistol can still win a close scramble and buy time to upgrade your kit.
It’s one of the few pistols that can reliably swing a hot-drop 1v1 if you play tight angles.
- Score: 80/100
- Power: 7.5
- Control: 7.5
- Versatility: 6.5
- Availability: 8
- Build: 8
Skorpion (Pistol)
Skorpion is A-tier because it behaves like a mini-SMG backup. It’s not glamorous, but it’s practicalespecially when you need a reliable sidearm while reloading your primary.
In fast pushes, Skorpion can be the difference between a trade and a clean wipe.
- Score: 80/100
- Power: 7
- Control: 8.5
- Versatility: 6.5
- Availability: 8
- Build: 8.5
Tier takeaway: A-tier weapons are top-level; they just ask for one extra condition availability, recoil skill, or role discipline.
B Tier (70–79): Good, But Outclassed Or More Narrow
G36C (AR)
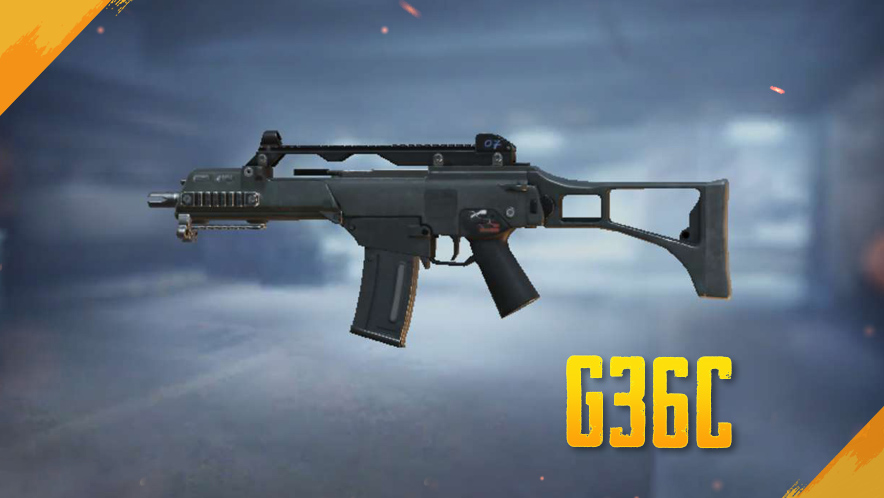
G36C is B-tier because it’s solid and controllable, but it’s often less universal than the top ARs and can be more map/loot dependent. It’s a safe choice when it’s what you’ve gotnot always the best when you have options.
If you’re consistent with it, you’ll still win; you just won’t get as many free advantages as S/A picks.
- Score: 78/100
- Power: 7.5
- Control: 8.5
- Versatility: 7.5
- Availability: 6.5
- Build: 8
M16A4 (AR)
M16A4 is B-tier because burst guns demand rhythm. When a player lands burst timing, it feels great; when they panic, it falls apart quickly compared with automatic ARs.
It’s a smart pick for disciplined mid-range peeksbut a risky pick for chaotic compounds.
- Score: 76/100
- Power: 7.5
- Control: 8
- Versatility: 7
- Availability: 8
- Build: 7
Win94 (DMR/SR Hybrid)
Win94 is B-tier because it can punish mid-range peeks, but it’s less flexible than standard DMR/SR options. It’s a use it if it fits your rhythm weapon, not a default meta choice.
When your lobby gives you slow, structured fights, it feels better; when fights are fast, it feels left behind.
- Score: 74/100
- Power: 8
- Control: 7
- Versatility: 6.5
- Availability: 7
- Build: 7
VSS (DMR)
VSS is B-tier because it’s unique and sneaky, but it’s harder to convert into consistent knocks in competitive pacing. It thrives when a player uses it for controlled harassmentnot when they expect it to outgun a true DMR.
If you enjoy stealth pressure, it’s fun; if you’re trying to maximize rank consistency, better DMRs exist.
- Score: 72/100
- Power: 7
- Control: 8
- Versatility: 6.5
- Availability: 7.5
- Build: 7
S686 (Shotgun)
S686 is B-tier because it’s feast-or-famine: land the two shots, and you look unstoppable; miss one, and the fight swings instantly. It’s strong, but unforgiving.
It rewards confident corner timing more than most players can execute consistently in high-speed lobbies.
- Score: 73/100
- Power: 8.5
- Control: 6.5
- Versatility: 5.5
- Availability: 8
- Build: 7
P1911 (Pistol)
P1911 is B-tier as a serviceable early sidearm. It can win a first fight, but it’s quickly outclassed once SMGs/ARs enter the picture.
It’s good enough to survivebut rarely the best tool for the job.
- Score: 74/100
- Power: 7
- Control: 7.5
- Versatility: 6
- Availability: 8
- Build: 7
P92 (Pistol)
P92 is B-tier because it’s consistent enough to stabilize a bad drop, but it rarely becomes the right tool after the first looting phase. It’s useful, not special.
If you keep it, treat it as a temporary bridge to a real close-range weapon.
- Score: 73/100
- Power: 6.5
- Control: 8
- Versatility: 6
- Availability: 8
- Build: 7.5
Sawed-off (Pistol/Shotgun Hybrid)
Sawed-off is B-tier because it can steal a close fight, but it lacks consistency and range. It’s the definition of a niche backup: clutch sometimes, dead weight often.
Use it if your playstyle loves surprise cornersotherwise it’s usually a wasted slot.
- Score: 72/100
- Power: 7.5
- Control: 7
- Versatility: 5.5
- Availability: 7
- Build: 7.5
Crossbow (Crossbow)
Crossbow is B-tier for players who specialize. Silent takedowns are real value, but missed bolts and slow follow-ups punish you hard in fast lobbies.
If you run it, your positioning has to be cleaner than everyone else’s.
- Score: 70/100
- Power: 7.5
- Control: 6
- Versatility: 5.5
- Availability: 7
- Build: 6.5
Tier takeaway: B-tier weapons are viable; they just need better positioning, better timing, or the right lobby conditions.
C Tier (60-69): Niche Picks Or Comfort-only Weapons
R45 (Pistol)
R45 is C-tier because it’s workable but rarely optimal. It rewards steady aim, yet it doesn’t give enough upside to justify choosing it over stronger pistols when available.
It’s a comfort weaponnot a consistent advantage weapon.
- Score: 68/100
- Power: 6.5
- Control: 6.5
- Versatility: 5.5
- Availability: 7
- Build: 6.5
Tactical Crossbow (Crossbow)
Tactical Crossbow is C-tier because it’s a specialization tool. It can create stylish plays, but most matches reward faster follow-up weapons and more flexible pressure options.
If your goal is win consistently, it’s usually not worth the slot.
- Score: 66/100
- Power: 7
- Control: 6
- Versatility: 5
- Availability: 6
- Build: 6
Crowbar (Melee)
Crowbar is C-tier: it’s there, it’s usable, and that’s about it. Once firearms enter the equation, melee becomes mostly cosmetic or last resort.
If you’re swinging a crowbar in a serious fight, you’re playing from behind.
- Score: 65/100
- Power: 5
- Control: 7
- Versatility: 4.5
- Availability: 9
- Build: 9
Sickle (Melee)
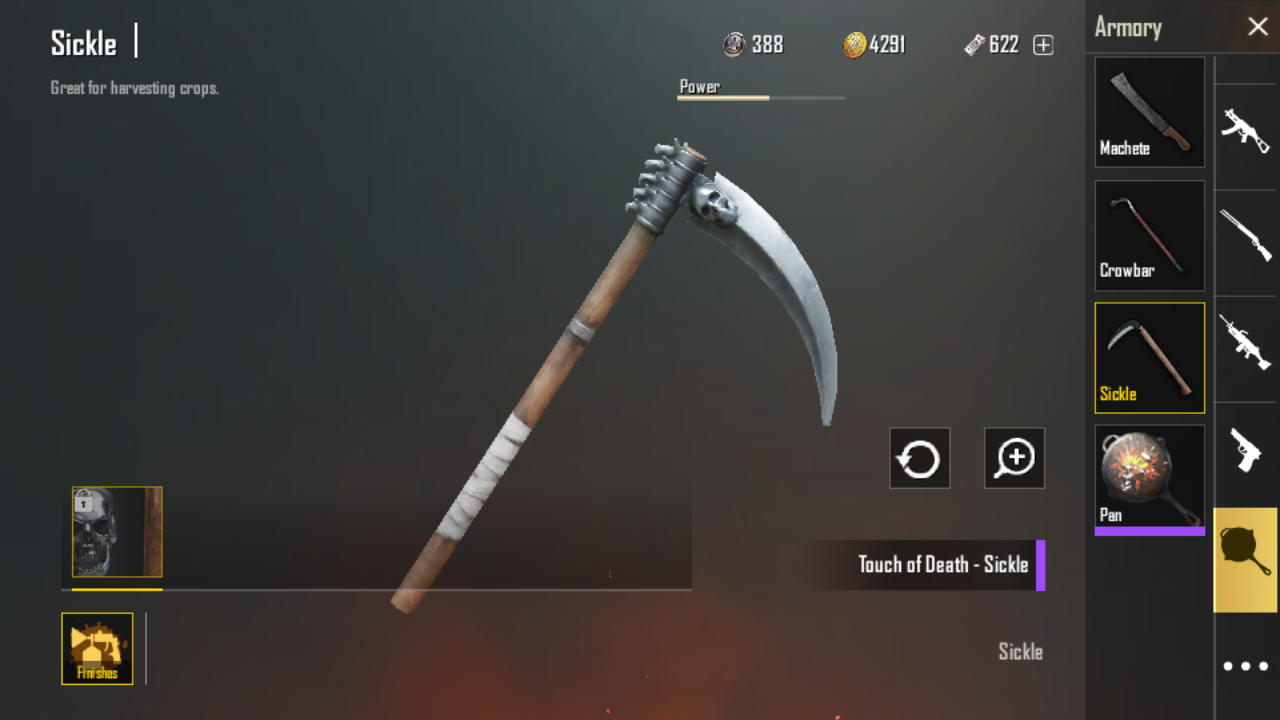
Sickle is C-tier for the same reason low real-match impact. It can finish a downed enemy in a pinch, but that’s not a core game plan.
Treat it as flavor, not firepower.
- Score: 64/100
- Power: 5
- Control: 7
- Versatility: 4.5
- Availability: 9
- Build: 9
Machete (Melee)
Machete is C-tier: occasionally funny, rarely optimal. It exists as a fallback, not a strategy.
If you want melee utility, the only one that matters is the Pan and even that is mostly non-combat value.
- Score: 64/100
- Power: 5
- Control: 7
- Versatility: 4.5
- Availability: 9
- Build: 9
Tier takeaway: C-tier tools can still work, but they’re usually chosen for comfort, not advantage.
D Tier (50–59): Low Combat Value Or Heavily Outclassed
R1895 (Pistol)
R1895 is D-tier because it’s slow and niche. It can hit hard, but real BGMI fights rarely give you the time to make a revolver feel worth it over faster, easier options.
It’s a style pick, not a climb pick.
- Score: 58/100
- Power: 6.5
- Control: 5.5
- Versatility: 4.5
- Availability: 7
- Build: 5
Pan (Melee)
Pan is D-tier as a weapon because melee kills are rare and risky. Its real value is utility and clutch moments not consistent duel power.
You keep it because it can save you; you don’t plan to fight with it.
- Score: 55/100
- Power: 5
- Control: 7
- Versatility: 4
- Availability: 9
- Build: 9
Flare Gun (Utility)
Flare Gun is D-tier in a combat tier list because it’s not meant for gunfights. Its value is strategic calling in drops, and that’s outside pure win-the-duel scoring.
Treat it as a macro tool: risk-managed, not equip to fight.
- Score: 52/100
- Power: 1
- Control: 1
- Versatility: 3
- Availability: 5
- Build: 10
Tier takeaway: D-tier doesn’t mean uselessit means you’re choosing it for reasons other than winning gunfights.
E Tier (40–49): Gimmicks, Extreme Edge Cases, Or Mode-only Chaos
Dagger (Melee)
Dagger is E-tier because melee value collapses once opponents have armor and automatic weapons. It can still clutch a desperate moment, but it’s not a competitive plan.
In most real matches, you’ll never want this over literally any firearm.
- Score: 48/100
- Power: 5
- Control: 7
- Versatility: 3.5
- Availability: 8
- Build: 9
Dual MP7 (Special)
Dual MP7 sits in E-tier because special/limited weapons are inconsistent to plan around, and they often don’t outperform the simplest SMG choices for the slot and learning curve.
It can be fun, but it’s rarely the optimal decision in standard planning.
- Score: 45/100
- Power: 6
- Control: 5
- Versatility: 4
- Availability: 4
- Build: 6
Tier takeaway: E-tier is where you land when a weapon is fun or rare, but not reliably better than standard choices.
F Tier (<40): Not A Serious Pick For Classic Gunfights
(No Classic-core Firearms Fall Strictly Below 40)
Most Classic-core guns are at least situationally usable; true F-tier is typically non-Classic or not a gunfight tool.
How To Use This Tier List
- Close-range tiers matter, but mechanics decide who actually wins the room. If you’re running a UZI/Vector/UMP45 or a shotgun as your 0–25m answer, pair it with strong movement, smart grenade usage, and tight crosshair placement. For a quick refresher on the fundamentals, check out these close-range combat tips in BGMI.
- If most of your fights are 25–80m, prioritize Versatility + Control stable ARs win the most common range.
- If you play edge/rotations, prioritize Availability + Versatility you need guns you can actually find often.
- If you’re a confident recoil player, you can buy more Power even if Control is lower.
- Don’t judge a gun until it’s kitted: attachments can move a gun up a full tier for your personal performance.
Attachment Priorities (quick Rules)
- AR (spray): Compensator > Vertical/half grip (control) > Extended mag > Stock (if supported)
- SMG: Extended mag first (survivability) > Compensator > Laser/hip-fire help (if your playstyle is entry)
- DMR: Compensator > Extended mag > Scope comfort your best range
- Snipers: Scope comfort + stable peek timing matter more than perfect attachments
- Shotguns: Playstyle and positioning matter most; attachments help, but range discipline wins fights.
Key Questions Answered
What Is The Best Gun In BGMI?
The M416 remains the best overall gun in BGMI due to its unmatched stability, manageable recoil, and versatility at both close and mid-range.
Which AR Does The Most Damage In BGMI?
The MK47 Mutant and AKM have the highest base damage per bullet among non-airdrop Assault Rifles, making them lethal in close-quarters combat.
Is The M416 A Real Gun?
Yes, the M416 in BGMI is closely modeled after the real-world Heckler & Koch HK416 assault rifle used by military forces globally.
Which Is Better: AKM Or Beryl M762?
The Beryl M762 is slightly better fully kitted due to a faster fire rate and attachment slots, but the AKM is superior with no attachments.
What Is The Best Sniper In BGMI?
The AWM is the undisputed best sniper, capable of one-shotting a Level 3 helmet. The Kar98k and M24 are the best non-airdrop alternatives.
Is The UMP45 Still Good?
Yes, the UMP45 is a top-tier SMG. Its high limb damage and laser-like recoil make it incredibly deadly in close-to-mid-range fights.
What Is The Best Gun Combination?
The standard meta combination is the M416 for mid-to-long-range sprays, paired with a UMP45 or AKM for close-quarters combat.
How Important Are Attachments?
Attachments are critical. A compensator and tactical stock can transform the M416 from average to an S-tier laser beam.
Final Thoughts
To truly rank up and dominate your lobbies, you must stop picking up weapons just because they look cool. The current meta heavily favors players who understand attachment dependency and prioritize Time-to-Kill (TTK).
Always build your loadout with intention: secure a fully kitted M416 for your mid-range engagements, and back it up with a UMP45 or DBS to protect yourself in tight spaces. Drop into Erangel today, test these optimized weapon combinations, and watch your K/D ratio climb.
Jump to
BGMI Weapon Tier List: S - F Rankings Explained With A 100-point Score System
Rating Measures Used To Rank Every Gun
Weapon Coverage Index
S Tier (90–100): Best-in-class, Minimal Excuses
A Tier (80–89): Strong And Reliable, Slightly More Conditional
B Tier (70–79): Good, But Outclassed Or More Narrow
C Tier (60-69): Niche Picks Or Comfort-only Weapons
D Tier (50–59): Low Combat Value Or Heavily Outclassed
E Tier (40–49): Gimmicks, Extreme Edge Cases, Or Mode-only Chaos
F Tier (<40): Not A Serious Pick For Classic Gunfights
How To Use This Tier List
Key Questions Answered
Final Thoughts
Latest Articles
Popular Articles