Genshin Impact Artifact Tier List | Best Sets + Tips
Looking for the best artifacts? This Genshin Impact artifact set tier list ranks top sets and shares smart tips to farm better and build faster.
Oct 04, 202533 Shares32.8K Views

The Ultimate Genshin Impact Artifact Set Tier List For Smarter Farming
Farming artifacts in Genshin Impact can feel like throwing your resin into a bottomless pit. With over 50 different artifact sets and limited daily resin, making the wrong choice can set your account back by months. Many players get stuck in analysis paralysis, jumping between domains without a real plan.
This Genshin Impact artifact set tier listcuts through the noise. You’ll get a smart, easy-to-follow guide that shows you exactly what to farm and why no guesswork, no fluff. Just clear reasoning and practical tips to help you boost your characters faster and build a stronger account over time.
S-Tier: The Universal Powerhouses

These artifact sets are must-farm priorities. They work on many characters and give huge power boosts to your entire account. Focus all your early resin here.
Emblem Of Severed Fate: The Game Changer
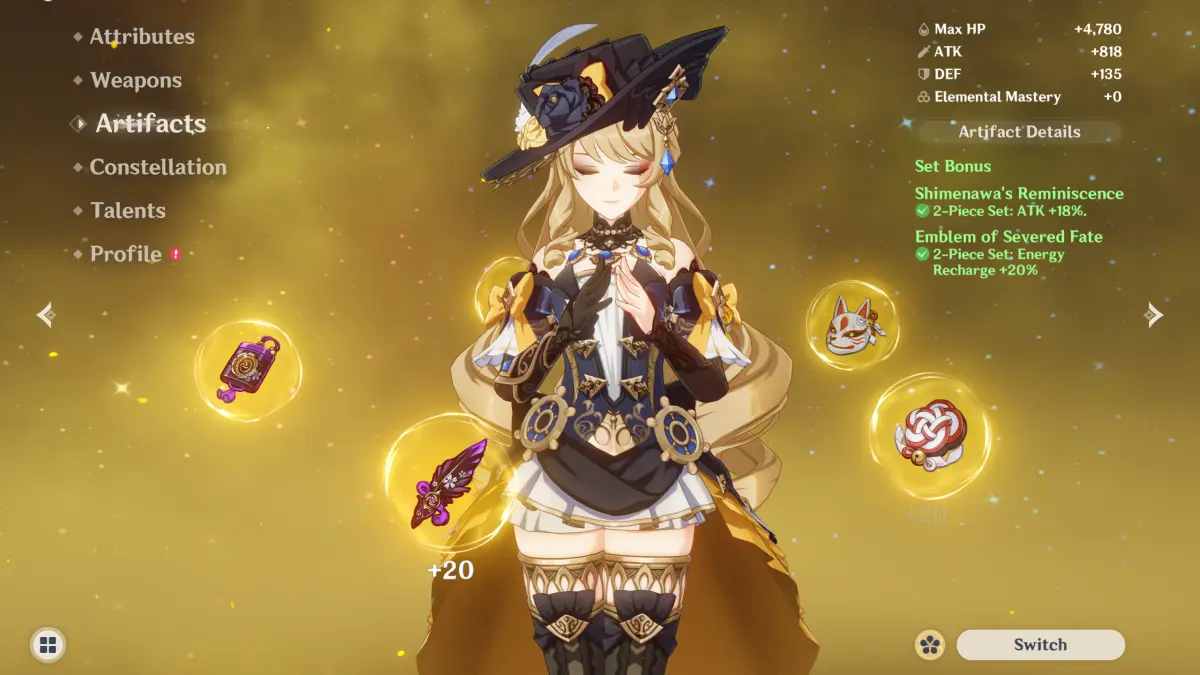
This set turns energy recharge into massive burst damage. The 4-piece bonus gives up to 75% more elemental burst damage based on your energy recharge stats. Since most characters need 180-200% energy recharge anyway, you get 45-50% free damage.
Almost every support and burst DPS wants this set. Characters like Xingqiu, Bennett, Xiangling, Raiden, and Ayaka all become much stronger. The domain also drops Shimenawa's Reminiscence, so you never waste resin. This is the single best domain in the game for new players.
Viridescent Venerer: The Team Damage Booster
Every Anemo support character needs this set. The 4-piece effect cuts enemy elemental resistance by 40%, which means 25-30% more damage for your whole team. No other artifact set gives this much team-wide damage.
Kazuha, Venti, Sucrose, and Jean all use this set. The resistance shred works on all elements except Anemo and Geo, making it perfect for elemental reaction teams. Even though the domain's second set (Maiden Beloved) is weak, VV is so powerful that it's worth farming anyway.
Noblesse Oblige: The Universal Support Set
This old set still rocks because it's simple and effective. The 4-piece bonus gives your whole team 20% more attack after using an elemental burst. The buff lasts 12 seconds and works on any character who can use their burst regularly.
Support characters who don't need special sets love Noblesse. Zhongli, Bennett, Diona, and many others can use it. The best part? You can get Noblesse from the strongbox instead of farming its domain. Just convert bad 5-star artifacts into Noblesse pieces for free.
Crimson Witch Of Flames: The Pyro King
Pyro DPS characters reach their highest damage with this set. The 4-piece bonus gives 15% Pyro damage, plus extra damage for elemental reactions. When you trigger reactions like Vaporize or Melt, you get stacks that boost your Pyro damage even more.
Hu Tao, Diluc, and Yoimiya all want this set for maximum damage. The set works best in reaction teams where you can keep the stacks active. If you play Pyro DPS characters in Vaporize or Melt teams, this set is essential for competitive damage numbers.
Blizzard Strayer: The Freeze Team Core
This set gives free critical rate against frozen enemies. The 4-piece bonus provides 20% crit rate against Cryo-affected enemies and 40% against frozen enemies. This lets you focus entirely on critical damage and attack stats instead of balancing crit rate.
Ayaka, Ganyu, and other Cryo DPS characters dominate with this set in freeze teams. You need Hydro teammates to keep enemies frozen, but the damage payoff is huge. Freeze teams are some of the strongest compositions for hard content like Spiral Abyss.
Gilded Dreams: The Reaction Master
Dendro reaction teams need this set for maximum damage. The 4-piece bonus gives massive Elemental Mastery based on your team's element types. With a mixed team, you can get up to 230 extra EM, which translates to huge reaction damage.
Characters who trigger Dendro reactions like Nahida, Tighnari, and electro/hydro reaction supports all benefit from this set. The EM scaling makes your reactions hit much harder. This set became essential when Dendro was released and remains crucial for reaction-based teams.
Continue Reading: Genshin Impact Weapon Tier List | Top Strongest Picks For Every Player
A-Tier: Specialized Excellence

These sets are extremely powerful for specific character types. Farm these after you have S-tier pieces for your main team.
Deepwood Memories: The Dendro Enabler
This set makes Dendro teams work by reducing enemy Dendro resistance. The 4-piece effect cuts Dendro resistance by 30% when your elemental skill or burst hits enemies. This boosts damage for all Dendro reactions on your team.
Any character in a Dendro team can wear this set to support the main Dendro DPS. Unlike other support sets, you only need one team member with Deepwood to help everyone. This flexibility makes team building easier while keeping optimal damage output for Dendro-focused compositions.
Ocean-Hued Clam: The Healing DPS Revolution
This set turns healers into damage dealers without losing their healing power. The 4-piece bonus collects excess healing and releases it as bubble damage every 3 seconds. The bubbles can hit for over 30,000 damage with strong healers.
Kokomi and Qiqi become viable DPS options with this set while still keeping their teams healthy. The damage scaling is high enough that healing builds can clear challenging content. This dual-purpose nature makes previously weak healers competitive in both casual and difficult fights.
Husk Of Opulent Dreams: The DEF Scaling Champion
Characters who scale with DEF stats reach their maximum potential with this set. The 4-piece bonus gives DEF and converts DEF into critical damage. You get stacks by dealing damage with elemental skills, and each stack makes you stronger.
Itto, Albedo, and Noelle all need this set for optimal damage. The stacking system works best with characters who stay on field, making it perfect for main DPS builds. When fully stacked, DEF-scaling characters can compete with traditional ATK-scaling DPS characters for damage output.
Shimenawa's Reminiscence: The Energy Alternative
This set offers high normal and charged attack damage in exchange for energy management challenges. The 4-piece bonus gives 50% more normal, charged, and plunging attack damage when you use an elemental skill, but it drains your energy to zero.
Characters who don't rely heavily on their elemental burst can use this set for massive basic attack damage. Yoimiya, Hu Tao, and some Ganyu builds prefer this over other options. The energy drain creates rotation challenges, but the damage boost is worth it for skilled players.
Heart Of Depth: The Hydro DPS Foundation
Hydro DPS characters get straightforward damage bonuses from this set. The 4-piece effect gives 15% Hydro damage and 30% more normal and charged attack damage after using an elemental skill. Both bonuses are easy to maintain and work well together.
Tartaglia, Ayato, and other Hydro DPS characters perform well with this set. While not as versatile as S-tier options, it provides reliable damage increases for its intended users. The bonuses are simple to trigger and maintain, making it beginner-friendly for Hydro DPS builds.
Tenacity Of The Millelith: The HP Support Buffer
This set provides team buffs while scaling with HP for characters who need both. The 4-piece bonus gives the team 20% attack and 30% shield strength when your elemental skill hits enemies. The effect lasts 3 seconds and refreshes when you hit enemies again.
Zhongli and Kokomi are the main users of this set, as they can maintain high uptime on the team buff while scaling their abilities with HP. The set requires active skill damage to trigger, so it works best with characters who have long-lasting or frequently triggering elemental skills.
B-Tier: Niche But Valuable
These sets work well for specific situations or characters. Only farm these if you have S-tier and A-tier pieces for your main teams first.
Pale Flame: The Physical DPS King
Physical damage characters get huge bonuses from this set. The 4-piece effect gives 25% physical damage and stacks that boost attack by up to 18%. You get stacks by hitting enemies with elemental skills, and each stack lasts 7 seconds.
Eula and physical Fischl builds reach their highest damage potential with this set. The stacking system works perfectly with characters who use their elemental skill frequently. However, physical damage is less popular in the current meta, making this set lower priority unless you main physical DPS characters.
Maiden Beloved: The Pure Healer
This set focuses entirely on making healing stronger. The 4-piece bonus gives 15% healing effectiveness and heals the whole team when you use elemental skills or bursts. It's simple but effective for characters who only need to heal.
Barbara, Qiqi, and pure healer builds benefit from this set when you don't need damage. However, Ocean-Hued Clam is usually better because it adds damage while still providing excellent healing. Maiden Beloved is mainly useful for players who prefer traditional pure healing builds.
Lavawalker: The Anti-Pyro Specialist
This set is built for fighting Pyro enemies and working with Pyro effects. The 4-piece bonus gives 35% more damage against enemies affected by Pyro. It's a simple but powerful damage boost in the right situations.
Characters who can consistently apply Pyro to enemies or fight in Pyro-heavy content can use this set effectively. However, its situational nature makes it much less valuable than universal options. Most players skip this set unless they specifically need anti-Pyro damage for certain content.
Thundersoother: The Electro Counter
Similar to Lavawalker, this set gives 35% more damage against enemies affected by Electro. It's straightforward and effective but only works in specific situations where enemies have constant Electro application.
Electro DPS characters can use this set in teams that maintain Electro on enemies consistently. However, most Electro characters have better options available. This set is mainly useful for specialized builds or specific content where Electro is always present on enemies.
Retracing Bolide: The Shield Scaling Set
This set combines normal attack damage with shield scaling. The 4-piece bonus gives 40% more normal and charged attack damage while protected by a shield. It also makes shields 35% stronger, creating a defensive and offensive synergy.
Noelle and other characters who create their own shields can use this set effectively. The shield requirement limits its flexibility, but the damage boost is significant when active. Most characters prefer sets that don't require specific conditions, making this a niche choice.
Archaic Petra: The Crystallize Support
This set boosts Geo damage and provides team buffs through Crystallize reactions. The 4-piece bonus gives party members 35% elemental damage when you pick up Crystallize shards. The buff matches the shard's element and lasts 10 seconds.
Zhongli and other Geo supports can use this set to boost their team's elemental damage. However, the Crystallize requirement and timing make it difficult to use effectively. Most players prefer simpler support sets that don't require specific reaction management to maintain their buffs.
C-Tier: Outdated Or Ultra-Specialized
These sets have been outpaced by newer options or only work in very specific situations. Only consider these if you already have everything else or need them for collection purposes.
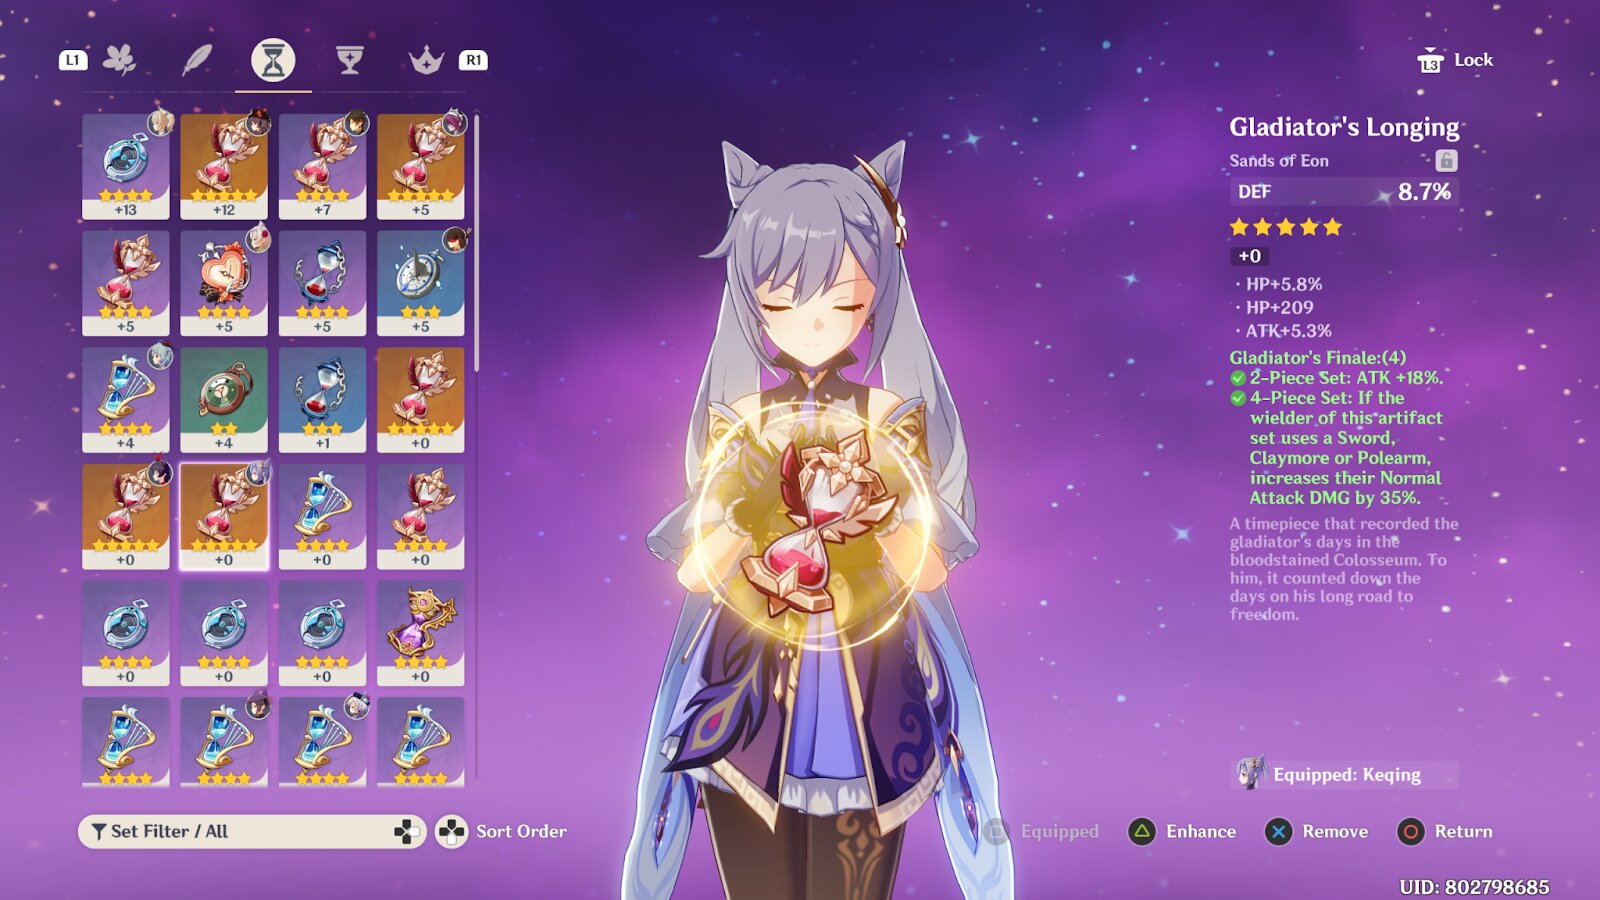
Gladiator's Finale: The Old Reliable
This classic set gives 18% attack and 35% more normal attack damage for sword, claymore, and polearm users. It was once the go-to set for many DPS characters before better options were released.
While still functional, newer sets like Emblem of Severed Fate or character-specific options almost always perform better. You can get Gladiator pieces from the strongbox, making it useful as temporary gear for new characters. Most players use this as a stepping stone while farming better alternatives.
Wanderer's Troupe: The Charged Attack Specialist
This set boosts Elemental Mastery and charged attack damage. The 4-piece bonus gives 35% more charged attack damage for bow and catalyst users. It was designed for reaction-based charged attack characters like Ganyu.
Ganyu can still use this set effectively in melt teams, but Blizzard Strayer is usually better for freeze compositions. Other characters have better options available now. Like Gladiator's Finale, this set is mainly useful as temporary gear from the strongbox system.
Bloodstained Chivalry: The Physical Support
This set combines physical damage with situational bonuses. The 4-piece effect gives 25% physical damage and resets charged attack stamina costs after killing enemies. The reset effect only works for 10 seconds after defeating foes.
The situational nature of the 4-piece bonus makes it impractical for most content. Pale Flame provides better physical damage bonuses without requiring enemy defeats to activate. This set is rarely recommended even for physical DPS builds in the current meta.
Thundering Fury: The Electro Reaction Set
This set was designed for Electro characters who trigger many reactions. The 4-piece bonus gives 15% Electro damage and reduces elemental skill cooldowns when you cause Electro reactions. It also boosts reaction damage by 40%.
The cooldown reduction sounds good in theory, but most Electro characters have better options available. The reaction requirement and cooldown mechanics make it complicated to use effectively. Most Electro DPS characters prefer simpler sets that give consistent bonuses without complex conditions.
Crimson Witch Of Flames (Alternative Build): The Stack Management Challenge
While Crimson Witch is S-tier for some characters, it can be C-tier for others who can't manage the stacks properly. The set requires specific rotations and reaction timing to maintain maximum effectiveness.
Characters who can't consistently trigger reactions or maintain the stacking buff get much less value from this set. Poor stack management turns a powerful set into a mediocre one. This is why understanding your character's playstyle is crucial before committing to Crimson Witch farming.
Instructor: The 4-Star EM Support
This 4-star set gives Elemental Mastery and boosts the team's EM after triggering reactions. The 4-piece bonus gives party members 120 EM for 8 seconds when you cause elemental reactions.
The 4-star stat limitations make this set much weaker than 5-star alternatives. While the team EM buff is nice, the character wearing it loses too much personal power. Only consider this set if you desperately need team EM buffs and have no other options available.
Tips For Beginners
1. Start With Easy And Flexible Sets
Focus on sets that are useful for many characters and easy to get from domains you can clear early. Two of the best starting sets are:
- Noblesse Oblige (4-piece):This set boosts your team's overall damage after using your Elemental Burst. It’s perfect for supports like Bennett or Xingqiu.
- Viridescent Venerer (4-piece):Best used on Anemo characters like Sucrose, Sayu, or Kazuha. It shreds enemy resistances and boosts your team's elemental damage.
Both of these sets drop from domains that also give other useful artifacts, so even if you don’t get perfect pieces right away, your farming won’t be wasted.
2. Don’t Worry About 5-Star Sets Too Soon
At lower Adventure Ranks, it’s better to focus on getting artifacts with good stats rather than chasing high-star sets. Even 4-star artifacts can carry you through most of the story and early Abyss floors if they have helpful main stats like ATK%, Elemental Mastery, or Energy Recharge.
Upgrading random 5-star artifacts with bad stats is a common mistake don’t burn your resources on them too early.
3. Use The Strongbox System Smartly
Once you reach Adventure Rank 45 and unlock guaranteed 5-star artifact drops, you can start using the Strongbox feature. This lets you recycle unwanted 5-star artifacts into new ones from older but still useful sets like:
- Crimson Witch of Flames
- Blizzard Strayer
- Thundering Fury
- Noblesse Oblige
It’s a great way to avoid bad luck from domains and build complete sets without wasting resin.
People Also Ask
What Is The Best Artifact Set In Genshin Impact Right Now?
The top set depends on your character, but overall, Emblem of Severed Fate, Golden Troupe, and Viridescent Venerer are some of the best-performing sets in the current meta. These sets show up in nearly every high-level Genshin Impact artifact set tier list because they boost damage reliably and work on multiple units.
Which Artifact Sets Should Beginners Focus On First?
Beginners should prioritize Noblesse Oblige for supports and Viridescent Venerer for Anemo characters. These sets are easy to farm and useful across many team comps. You don’t need perfect stats just solid main stats to get started.
When Should I Start Farming 5-star Artifacts?
Start seriously farming 5-star artifacts once you reach Adventure Rank 45, when domains start guaranteeing 5-star drops. Before then, it's better to use 4-star gear with good stats and focus on leveling your characters and weapons.
What Are The Most Resin-efficient Domains To Farm?
Domains that drop two useful sets at once are the best for long-term value. For example, Emblem of Severed Fate + Shimenawa’s Reminiscence, or Viridescent Venerer + Maiden Beloved, give you double the chance of getting something useful with each run.
Final Thoughts
Smart farming means focusing on sets that help multiple characters instead of perfecting just one. Start with Emblem of Severed Fate and Viridescent Venerer they work on many top units and make your teams stronger faster.
Once your main team has solid builds, then go after specific sets for your top damage dealers. Don’t waste resin chasing perfect stats. The goal is progress, not perfection. Use this Genshin Impact artifact set tier list to guide your farming and build a strong, flexible roster over time.
Latest Articles
Popular Articles

