Supervive Tier List 2026: Top Hunters, Builds, And Meta Picks
Tired of losing ranked games? This supervive tier list reveals the best Hunters, smart builds, and meta insights used by top players.
Jul 23, 2026258 Shares28.6K Views

Supervive Tier List: Best Hunters And Meta Builds
Ranked in Supervive can feel brutal when you load into The Breach and instantly recognize the same few Hunters. They don’t just win fights, they dictate the pace, punish late rotations, and turn small mistakes into full team wipes.
A tier list should do more than name S-tier picks. It should explain whythe meta looks the way it does, which builds actually work in real lobbies, and how to counter the Hunters you keep losing to. That’s the focus here: practical picks for climbing, Armory-based build logic, and matchup insight that protects your RP.
Patch note reality check: Most data still reflect patch 2.03, with 2.04 referenced as the final content update ahead of the game’s sunset. This guide reflects the active 2.03–early 2.04 meta window, so always confirm your in-game version and current trends before committing to a new main.
How This Supervive Tier List Is Built
Tier listsare useless if they’re based on clips, vibes, or one person’s favorite character. This one is structured around what wins matches in mid-to-high MMR, where opponents punish predictable engages and don’t let you free-farm objectives.
The ranking factors (the actual “why”)
A Hunter climbs tiers when they consistently provide at least two of these:
- Reliable fight-starting (engage, pick tools, forced cooldown trades)
- Reliable fight-ending (burst confirmation, resets, chase tools)
- Objective control (zoning, choke dominance, peel stability)
- Counter-resilience (still strong even when enemies know the matchup)
- Build flexibility (multiple viable Armory paths, not one fragile setup)
The tiebreakers (how close picks get sorted)
When two Hunters feel similarly strong, the higher tier goes to the one with:
- Higher “first impact” reliability (can create value quickly)
- Better escape options after committing
- Fewer hard counters in common ranked comps
What this tier list is not
- Not a “win rate only” list
- Not a “perfect team only” list
- Not a beginner only list
It aims to be useful for solo queue and coordinated squads.
Patch And Meta Snapshot (2026)
Why The Meta Is So Armory-driven Right Now
Supervive’s Armory system changes what “strong” means. The same Hunter can feel average with random gear and completely oppressive with the right synergy. Armory progression, prioritized items, relic availability, and seasonal resets all affect real ranked performance.
A Quick Patch Note That Matters For Builds
Patch 2.03 coverage emphasized major economy and itemization changes, including changes tied to how players access certain upgrades. In plain terms: loot, objectives, and build planning matter more than autopiloting the shop.
Quick Supervive Tier List Snapshot
S Tier (Meta-defining, easiest to climb with)
Shiv, Oath, Felix, Brall
A Tier (Strong ranked picks with consistent win conditions)
Joule, Kingpin, Zeph, Bishop, Celeste
B Tier (Viable but needs comp support or specialization)
Myth, Hudson, Ghost, Void
C Tier (Playable, but more matchup-dependent and punishing)
Shrike, Elluna, Jin
Notes on disagreements you’ll see online:
- Some lists place Joule in S rather than A because she spikes hard with the right Armory setup and snowballs fights quickly.
- Hudson often jumps between B and C depending on patch fixes, player comfort, and how fast the lobby meta is playing.
See also:Apex Legends Legend Tier List
The Armory System
If you skip this section, you’ll still know who S-tier is, but you won’t understand why they keep showing up in your games.
Armory basics that directly affect ranked outcomes
- Armory unlocks equipment that becomes available in Base and Relic shops during runs.
- Collecting duplicates upgrades equipment tiers (stronger passives, higher impact).
- You can prioritize items to surface them more reliably during matches.
- Seasonal resets and equipment changes reshape what’s “best” each season.
The four Armory patterns that win ranked games
These aren’t specific item names (which can shift). They’re the repeatable patterns behind strong builds.
Pattern A:Reset pressure (kill-to-keep-going)
- Rewards Hunters who can confirm kills and instantly re-engage
- Benefits mobile assassins and chase-heavy kits
Pattern B:Frontline punishment (you hit me, you lose)
- Rewards durable Hunters who force bad trades
- Benefits tanks and disruptors who survive long enough for follow-up
Pattern C:Pick-and-delete (one catch ends the fight)
- Rewards hook, pull, stun chains, and fast burst
- Benefits initiators and teams with clean focus-fire
Pattern D:Zone denial (you can’t walk here)
- Rewards slow, choke control, and objective setups
- Benefits controllers and disciplined squads
Which S-tier Hunters abuse Armory patterns best
- Shiv:Pattern A and C (reset pressure + pick conversion)
- Oath:Pattern B (frontline punishment + space creation)
- Felix:Pattern A and B (reliable fighting + anti-sustain angles)
- Brall:Pattern C (burst confirmation with fast fight-ending potential)
S Tier Hunters That Warp The Meta
S tier means if you’re equally skilled, these picks give you the best “effort-to-results” ratio in ranked.
1. Shiv (Mobile Assassin Pressure)
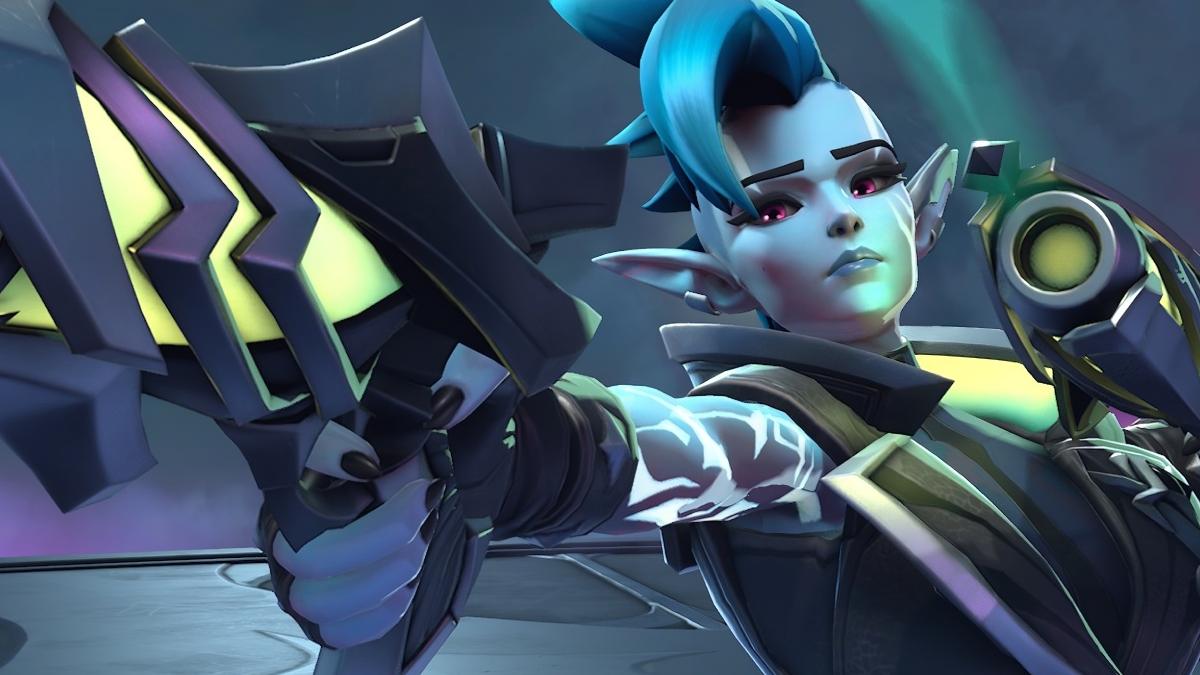
Why Shiv is S tier in real lobbies
- Converts small positioning errors into kills
- Forces enemy cooldowns early, then punishes the gap
- Can create picks even without perfect team coordination
Two Supervive builds that actually work for Shiv
Build Path A: Default ranked (reset pressure)
- Prioritize mobility uptime and kill confirmation
- Goal: get the first elimination, then chain tempo before enemies reset
- Playstyle: flank, isolate, finish, disappear, repeat
Build Path B: Counter-build vs burst/focus
- Add survivability earlier than you want
- Goal: survive the first counter-burst so your second rotation wins
- Playstyle: shorter commits, more baiting cooldowns, cleaner exits
How to play against Shiv (counterplay that saves you games)
- Don’t split in open space when objectives are live
- Hold one peel tool specifically for her second commit, not the first
- Force her to fight front-to-back by keeping your backline anchored near cover
- If your comp lacks peel, draft a hard disruptor and stay disciplined on spacing
2. Oath (Frontline Anchor And Fight Control)
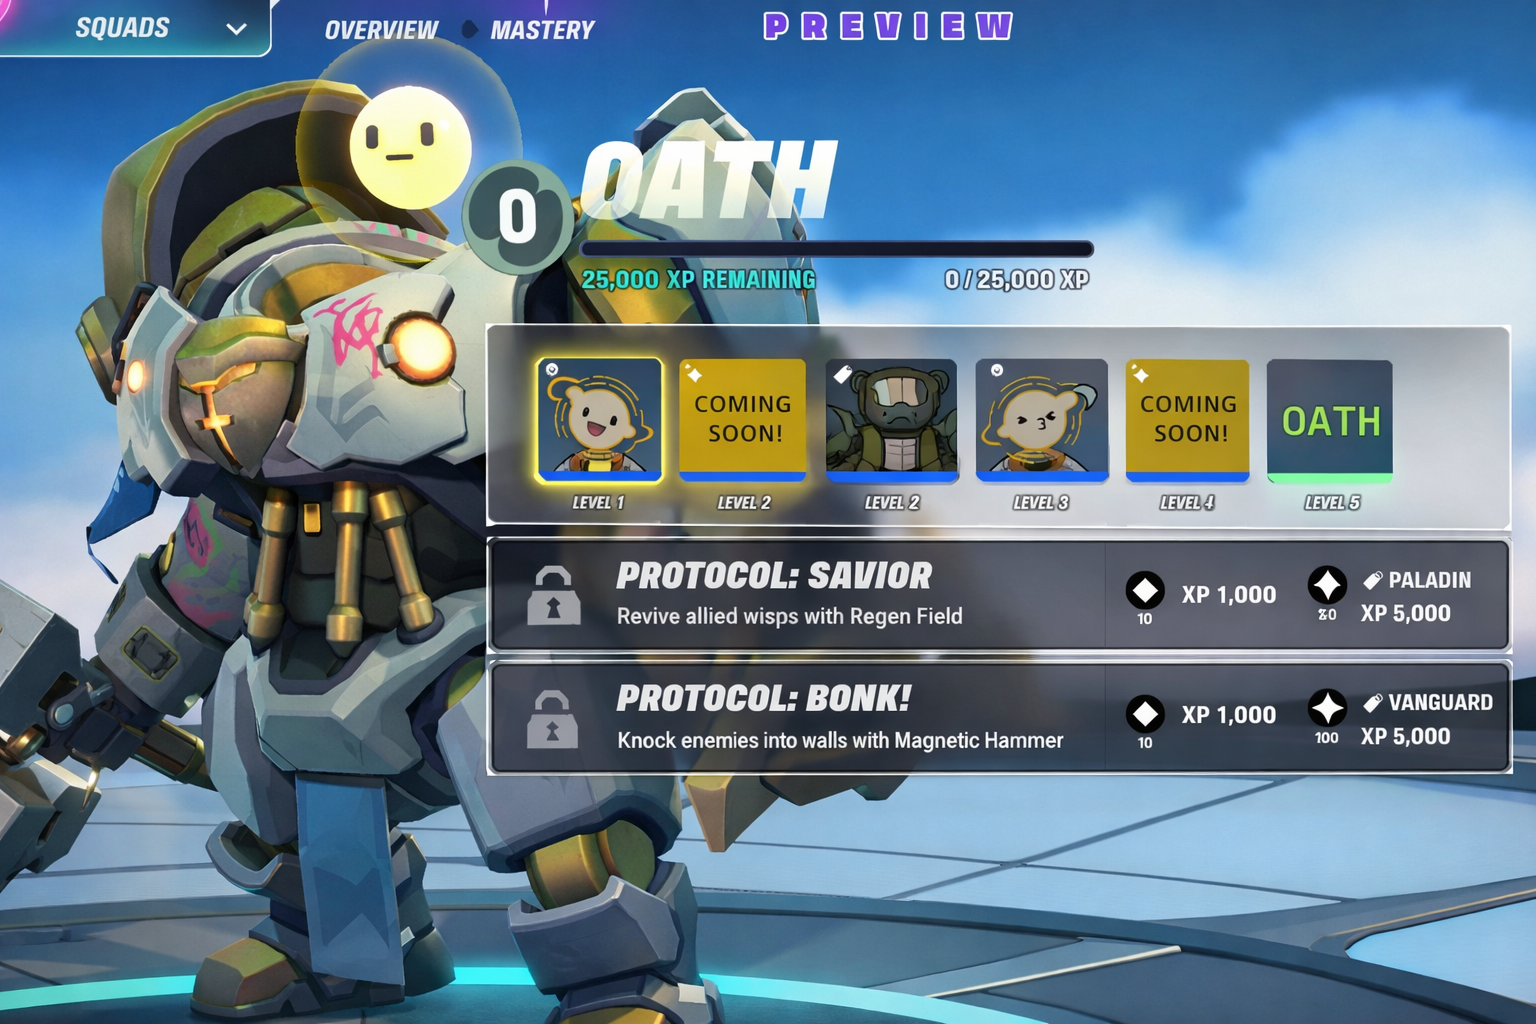
Why Oath stays meta-relevant
- Reliable value even when behind
- Creates safe space that lets your damage dealers breathe
- Punishes teams that panic-focus the tank while backline free-farms
Two Supervive builds for Oath
Build Path A: Default ranked (walking fortress)
- Prioritize durability and “stay alive while disrupting” tools
- Goal: soak cooldowns, create room, and win the second wave of the fight
- Playstyle: start fights only when your team is in range to follow
Build Path B: Counter-build vs poke/control
- Add tools that reduce downtime and improve engage reliability
- Goal: don’t get chipped out before the fight starts
- Playstyle: tighter timing, faster commits, less standing in open lanes
How to play against Oath
- Stop dumping everything into him first unless you can finish
- Punish his cooldown windows: when his main disruption tools are down, push space
- Kite backward in layers (cover to cover) instead of hard retreating in a straight line
- If you can’t kill him, kill the teammates who rely on his protection
3. Felix (Beginner-Friendly, High Ceiling, Always Useful)
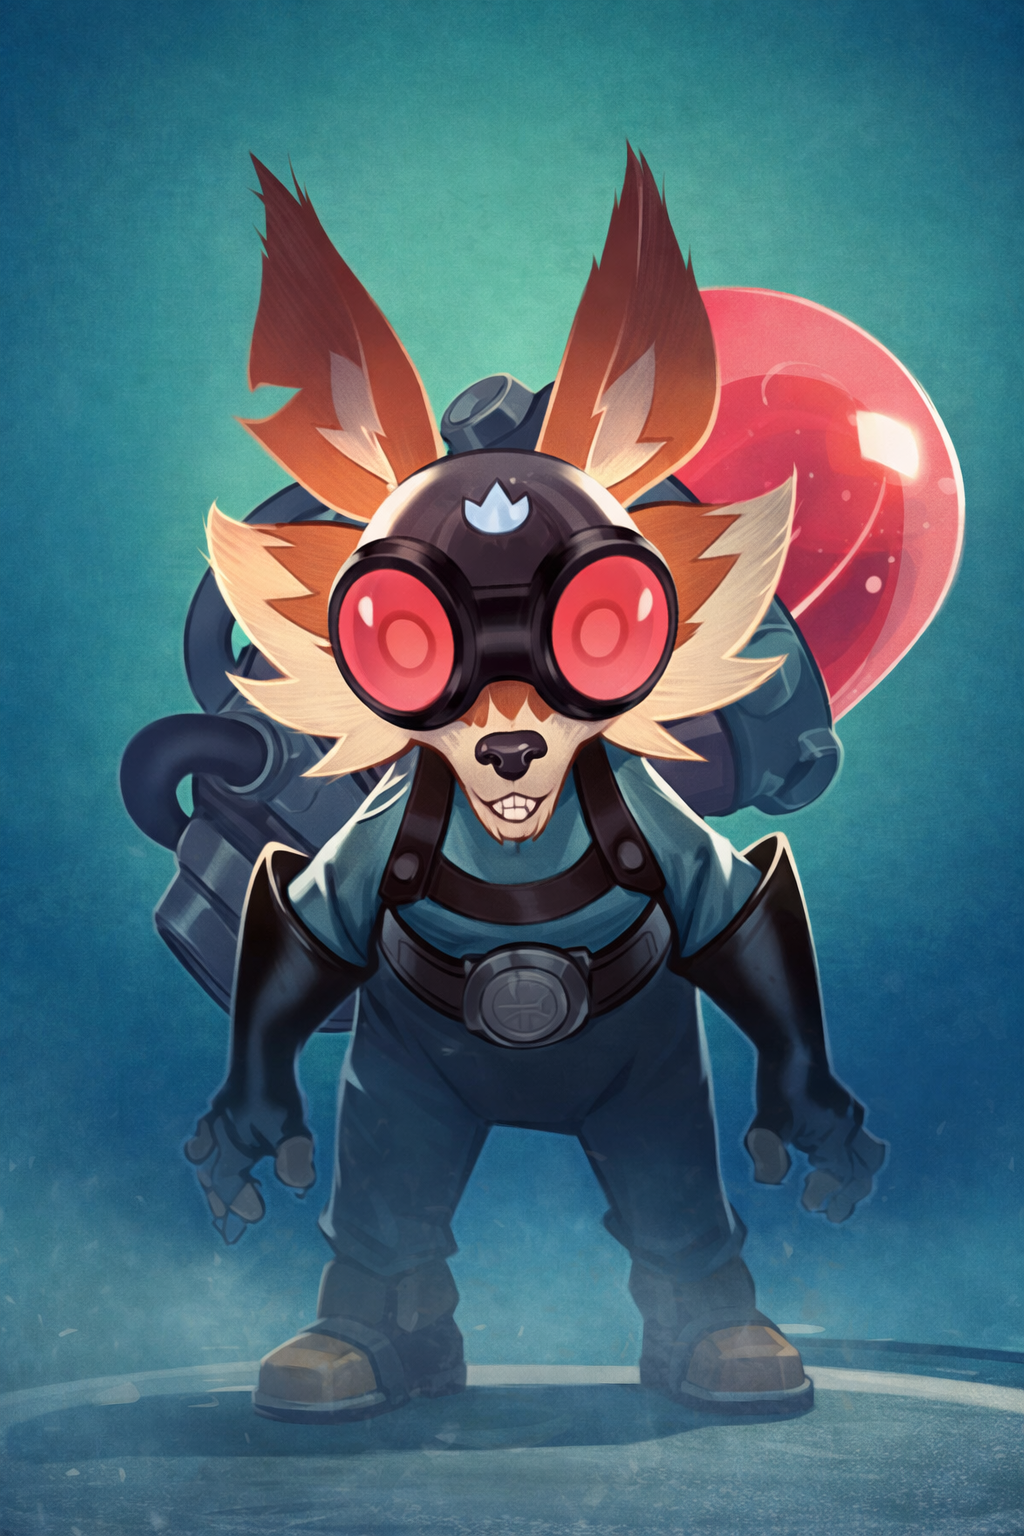
Why Felix is S tier
- Gets value without needing perfect mechanics
- Scales with skill: timing, target choice, and spacing make him scary
- Strong in chaotic solo queue brawls because he’s rarely “useless”
Two Supervive builds for Felix
Build Path A: Default ranked (balanced brawler)
- Prioritize consistent damage + fight durability
- Goal: win extended skirmishes and be relevant every fight
- Playstyle: front-to-back pressure, punish overextensions, don’t tunnel
Build Path B: Counter-build vs sustain-heavy teams
- Prioritize anti-sustain pressure and fight denial tools
- Goal: stop enemy healing from turning fights into endless slogs
- Playstyle: commit when enemy sustain tools are on cooldown, finish fast
How to play against Felix
- Don’t give him free extended fights
- Force short trades and disengage before he ramps
- If he’s your lobby’s carry, track him and deny isolated 1v1s
4. Brall (Burst Damage Specialist)

Why Brall is S tier
- Ends fights instantly when enemies misposition
- Punishes bad rotations harder than most Hunters
- Snowballs quickly when ahead because burst confirms reduce counterplay
Two Supervive builds for Brall
Build Path A: Default ranked (burst confirmation)
- Prioritize reliable burst and quick follow-up
- Goal: delete a target and turn the fight into a numbers advantage
- Playstyle: patient positioning, strike when your team can capitalize
Build Path B: Counter-build vs dive/focus
- Add a defensive fallback plan
- Goal: survive getting jumped so your second burst wins the fight
- Playstyle: tighter spacing, stay near peel, punish divers after they commit
How to play against Brall
- Respect his threat range and stop face-checking objectives
- Bait the burst into a tank or protected target, then counter-engage
- If you’re squishy, never be the first person seen in a choke
A Tier Hunters That Win Games Consistently (With Draft Tips)
A tier means strong and reliable, but either slightly more matchup-dependent or slightly less oppressive than S tier.
5. Joule (Flexible Assassin, High Playmaking)

Why Joule is A tier (and sometimes S in other lists)
- Huge playmaking potential with good decision-making
- Strong snowball patterns
- More punishable when she commits badly
Build advice that matters
- If you keep dying first, your build is too greedy for your current MMR
- If fights feel “unfinishable,” you’re missing reliable confirmation tools
Draft tip
Pick Joule when your team already has one of:
- A stable frontline, or
- A reliable engage tool that forces targets into your threat range
6. Kingpin (Pick Tool And Team Fight Starter)
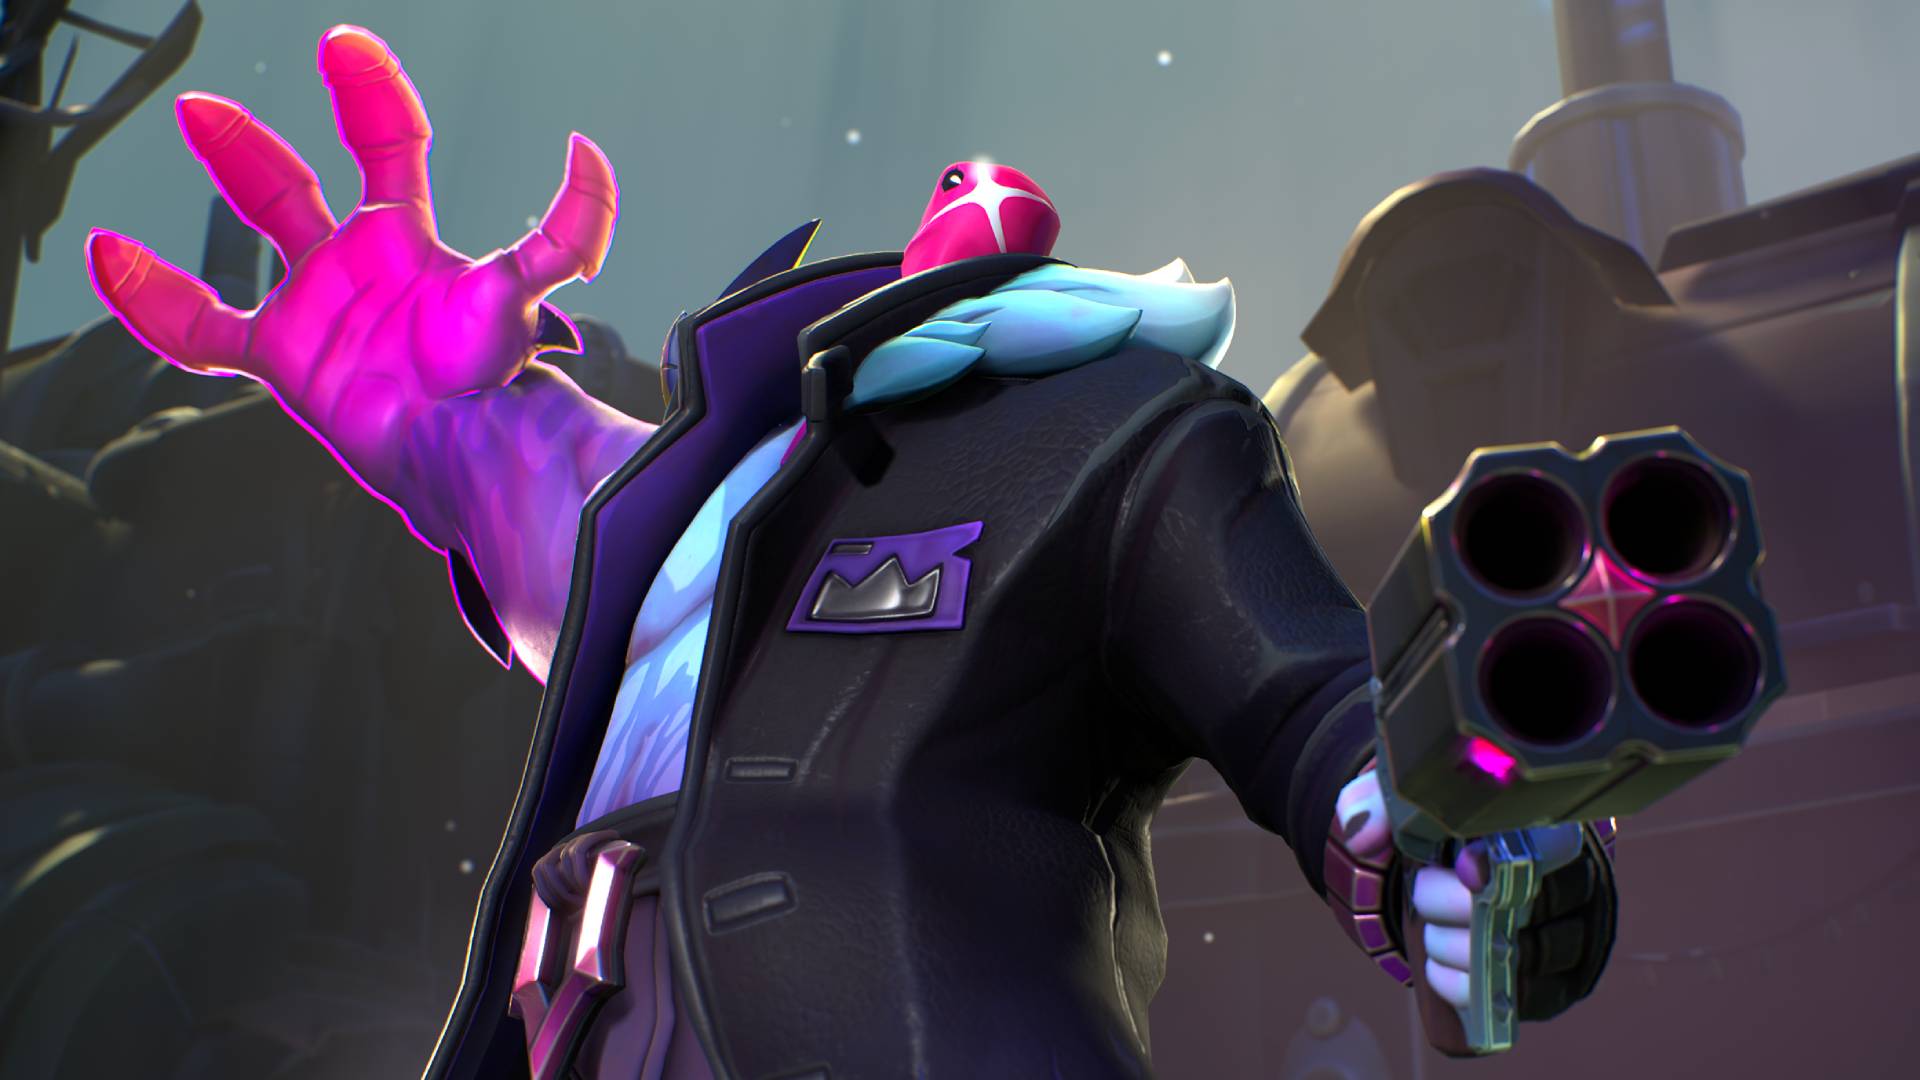
Why Kingpin is A tier
- One good catch can decide the fight
- Great in solo queue because you can create your own win condition
- Less flexible into teams that spread perfectly and kite
Build advice that matters
- Don’t build like a damage carry if your job is starting fights
- Survive long enough for your team to follow up
Draft tip
Kingpin is strongest when your team has:
- Fast follow-up damage, or
- A second control tool to chain after the catch
7. Zeph (Stable Competitive Option)
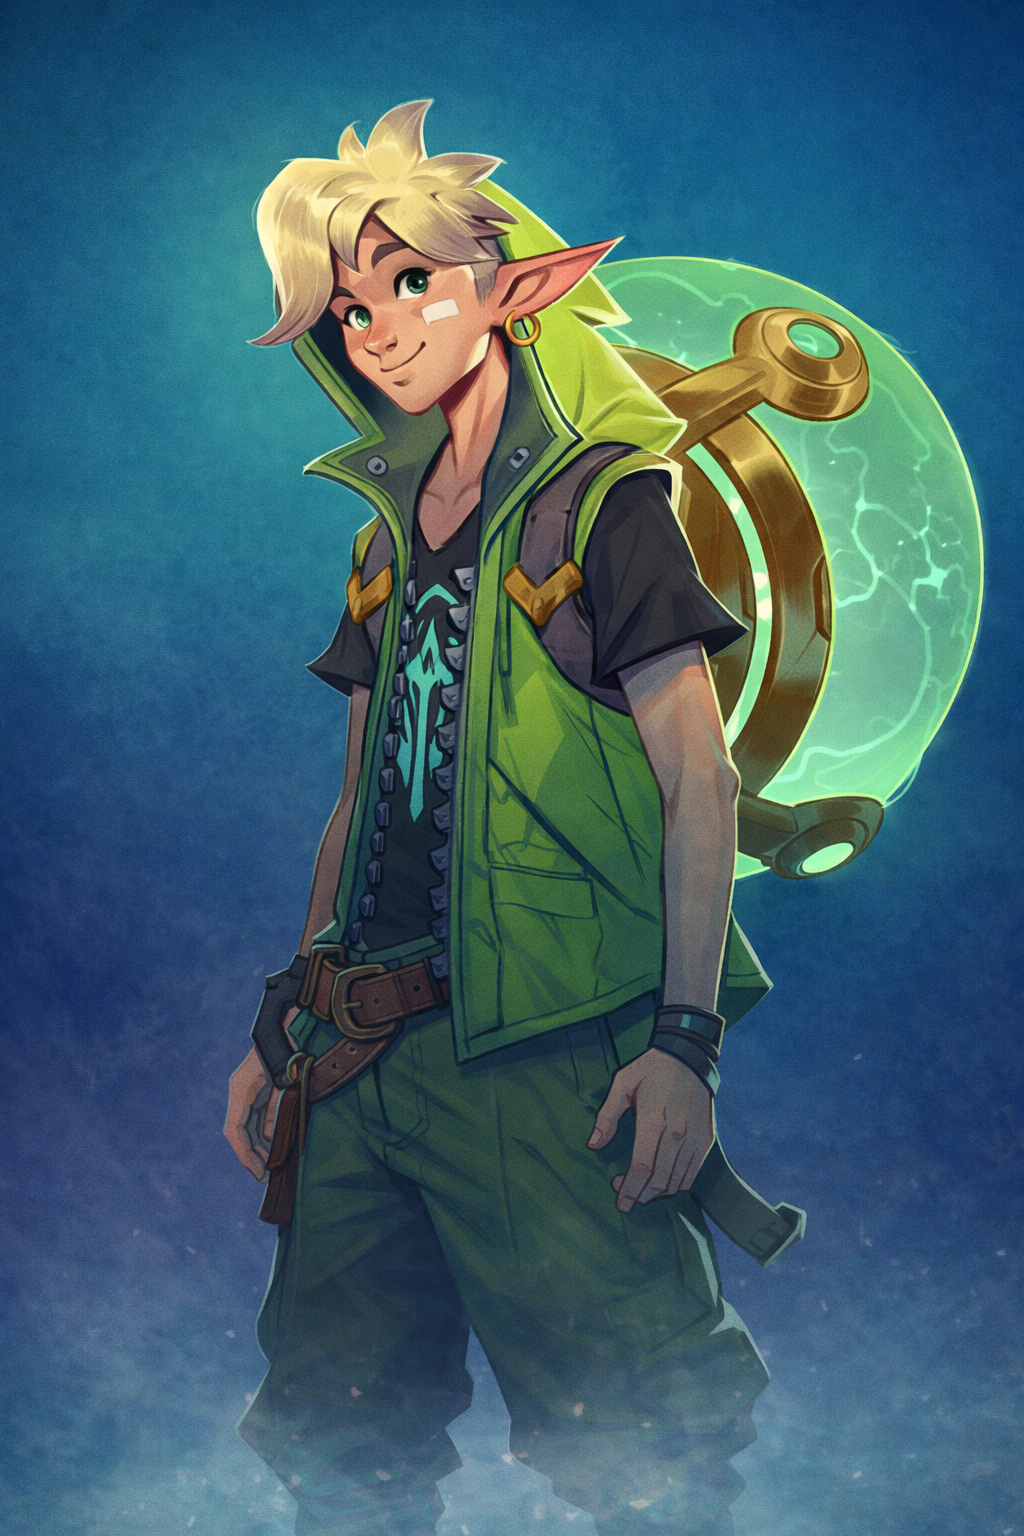
Why Zeph is A tier
- Reliable value across many team comps
- Punishes predictable movement and sloppy positioning
- Needs discipline to avoid overcommitting
Build advice that matters
- Prioritize consistency over “highlight” setups
- If your comp lacks frontline, build to survive longer rather than gamble
8. Bishop (Situational Specialist That Pops Off In The Right Games)
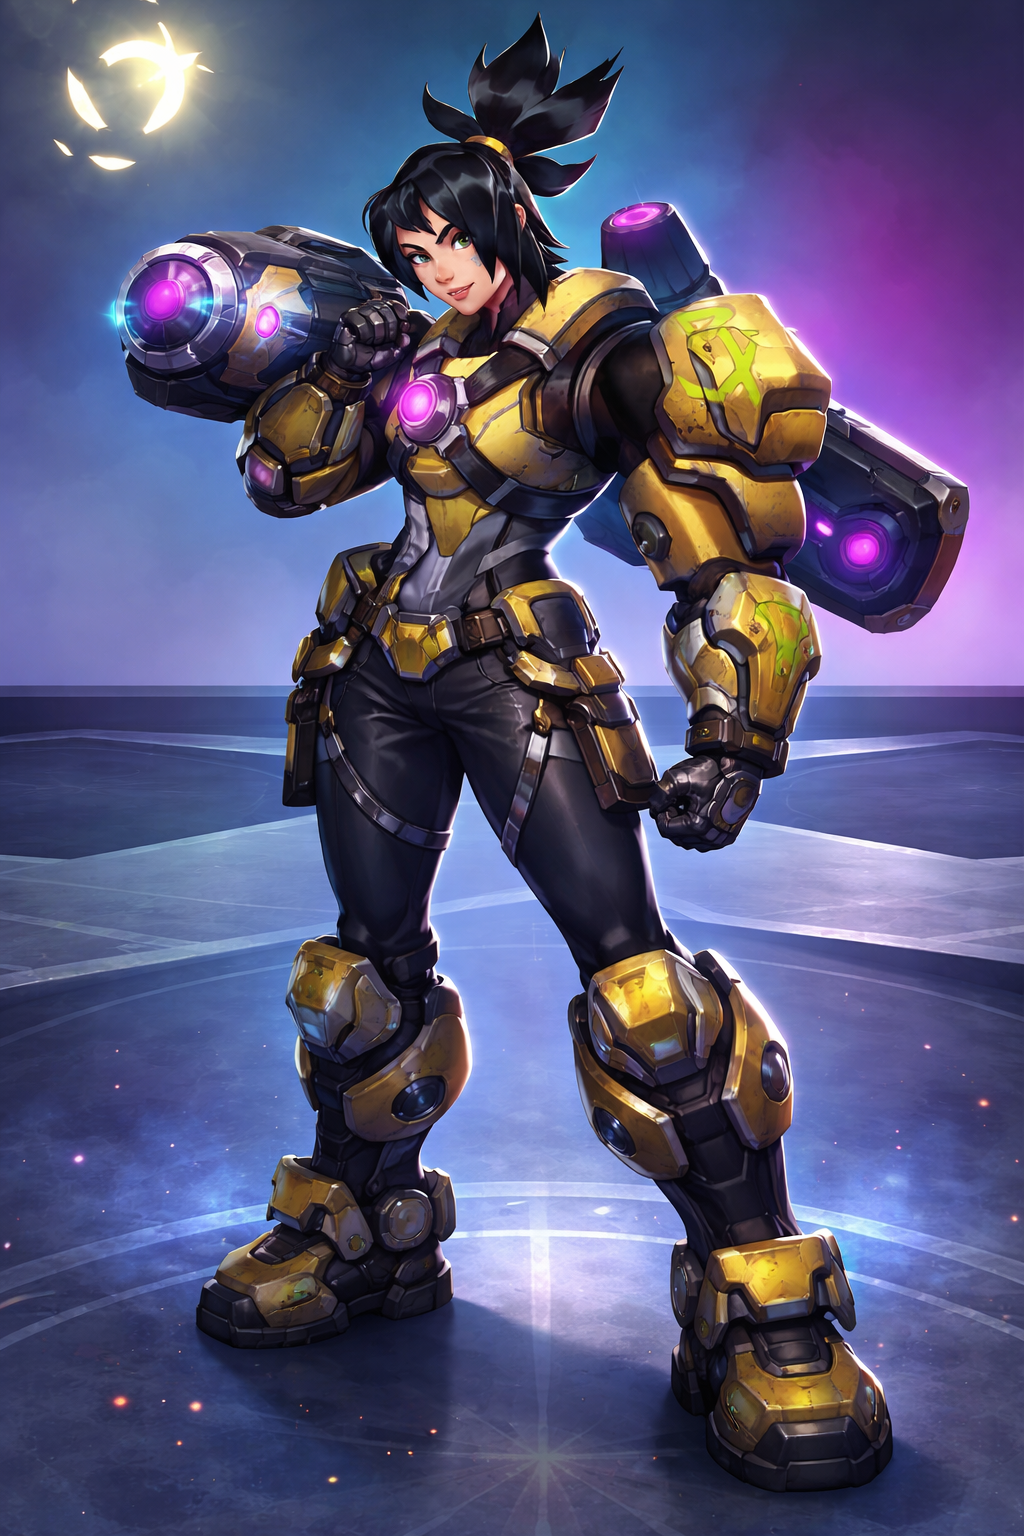
Why Bishop is A tier for specialists
- Strong when enemies cluster and fight around objectives
- Punishes grouped teams hard
- Weaker when forced into scattered skirmishes
Draft tip
- Objective stacking
- Choke fighting
- Teams that refuse to spread
9. Celeste (Control With Real Mobility)

Why Celeste is A tier in disciplined comps
- Strong slows and zone tools
- Can protect space for your team
- Feels weaker if teammates ignore your control zones and chase randomly
Build advice that matters
- If divers keep targeting you, shift into survivability earlier
- You don’t need maximum damage if your zones already win space
B Tier Hunters That Become Great With The Right Plan
B tiermeans still viable, but you need the right comp, the right lobby read, or real mastery.
10. Myth (Zoning And Control)

Myth dominates when your team understands spacing and doesn’t break formation for ego fights. Myth struggles when your teammates refuse to play around control zones.
Best situations for Myth
- Objective-heavy lobbies
- Teams that want to run straight at you
- Squads that communicate and layer zones
11. Hudson (Patch-Sensitive Power Level)
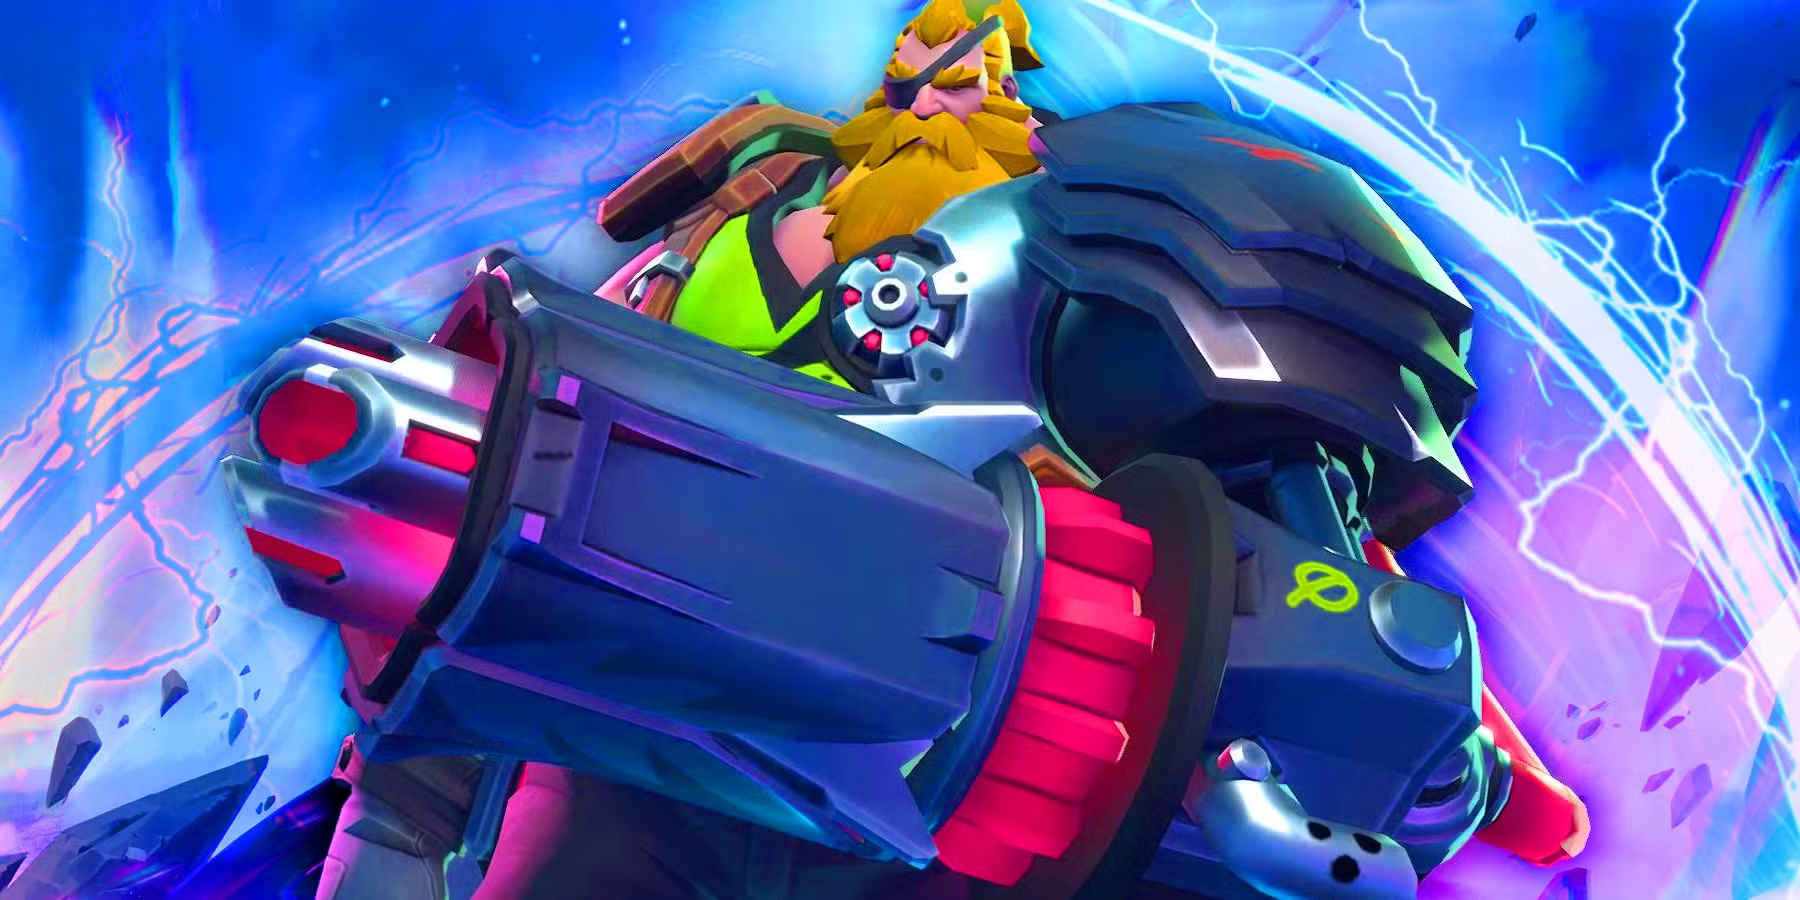
Hudson’s tier placement tends to move when technical improvements or balance adjustments land. In some metas he performs like B tier; in others he feels closer to C.
Best situations for Hudson
- When you can play measured, not reckless
- When your team has at least one reliable engage tool
12. Ghost (High-Risk, High-Reward)
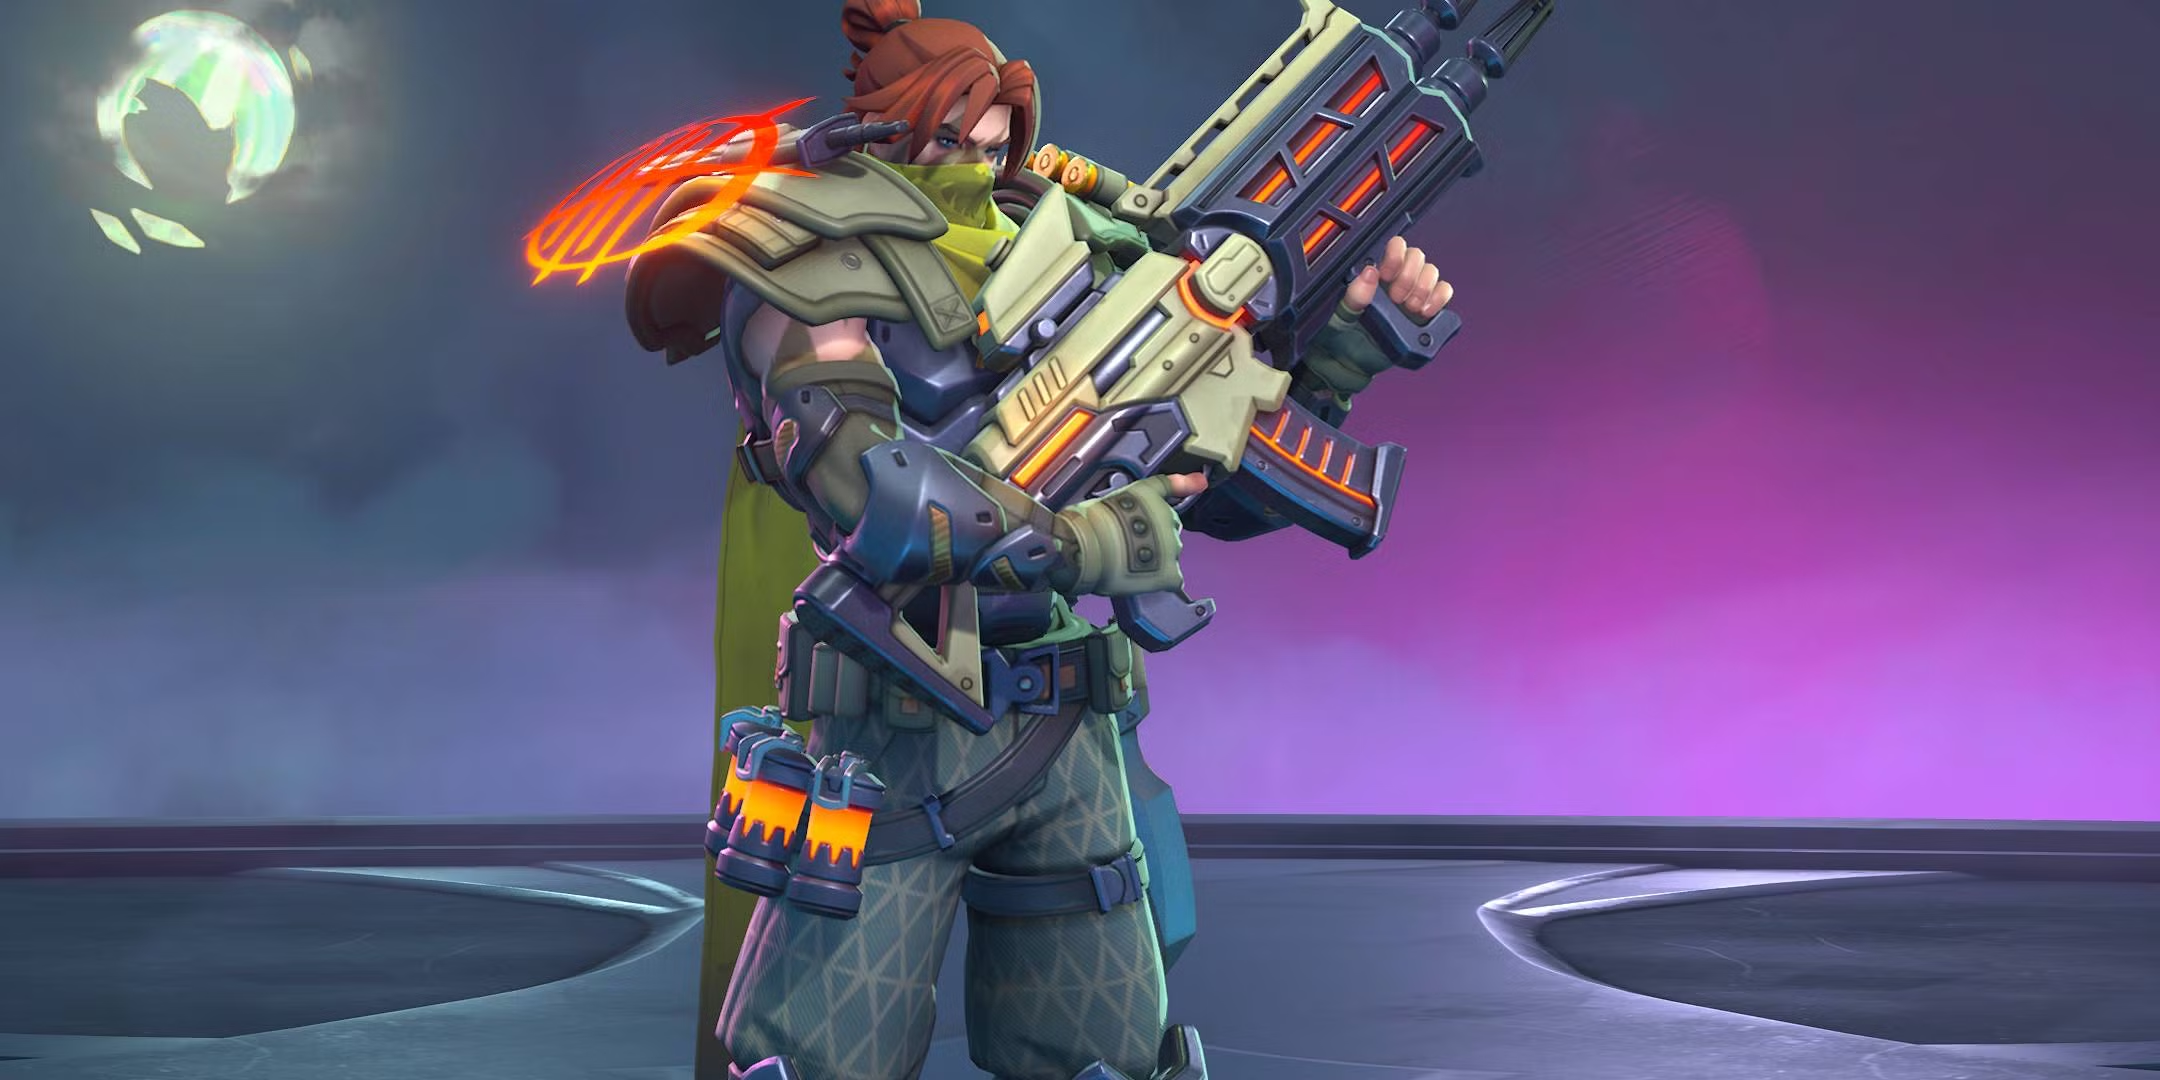
Ghost can farm weaker lobbies, but predictability gets punished in higher ranks. You need clean fundamentals.
How to get consistent value
- Take fights on your terms
- Avoid coin-flip all-ins
- Track cooldown windows and punish overextensions
13. Void (Niche, Still Useful)

Void shines with coordination. In messy solo queue games, he can feel like he’s doing “a lot” without finishing fights.
Best situations for Void
- Teams with a clear plan (pick comp or control comp)
- Players who specialize and know matchups
C Tier Hunters (Playable, But More Punishing)
C tier doesn’t mean “trash.” It means your mistakes cost more, and your good moments require more setup.
14. Shrike (Mechanically Demanding)

Shrike rewards mastery but punishes sloppy movement and positioning. If you’re learning fundamentals, Shrike is a harder road.
15. Elluna (Strong Utility, Needs Team Discipline)

Elluna can outperform her tier in duos or trios where teammates actually play around heals and peel windows. In random lobbies, her impact gets wasted when teammates sprint away from support range.
16. Jin (Matchup Dependent)

Jin can feel great when the lobby plays into your strengths. Jin feels miserable when you’re forced into awkward angles and your team can’t create openings.
Supervive Builds: A Simple System That Works Across Hunters
Most players lose games in the shop long before they lose them in a fight. Strong builds aren’t about copying a list. They’re about answering one question: how do we win fights in this lobby?
The four build goals (pick one as your foundation)
- Burst finish: End fights quickly and punish mistakes
- Stick and chase: Win extended skirmishes and prevent escapes
- Frontline utility: Survive first contact and enable your team
- Control and deny: Win space and force enemies into bad routes
Quick build rules that prevent throw builds
- If you die before using your kit, your build is too greedy
- If enemies always escape at 10% HP, you need stickiness or confirmation
- If your team lacks engage, don’t build like someone else will start fights
- If the enemy comp is dive-heavy, defensive value goes up for everyone
- If your team is winning early, don’t “win harder” with pure greed - buy stability
Build adjustments based on what you see
Against heavy burst
- Add survivability earlier
- Use tighter positioning and shorter commits
Against sustain/healing
- Add anti-sustain pressure or fight denial tools
- Focus targets cleanly and finish fast
Against kite and ranged pressure
- Improve gap-close options
- Reduce downtime so you can re-engage faster
Supervive Guide: Team Comps
Tier lists help, but team structure wins.
Dive And Collapse (Fast Picks, Fast Finishes)
Best with
Shiv, Joule, Kingpin (plus a stable frontline like Oath)
Win condition
Start fights on a priority target and deny resets
Common mistake
Diving without follow-up range, turning your engage into a donation
Poke And Control (Win Space, Win Objectives)
Best With
Myth, Celeste, Zeph (plus Oath or another anchor)
Win condition
Bleed enemies before they can take a clean fight, then secure objectives
Common mistake
Over chasing after poke instead of locking the objective advantage
Balanced Brawl (Most Reliable For Solo Queue)
Best with
- Oath or Felix frontline
- One playmaker (Kingpin or Shiv)
- One control/support slot based on comfort
Win condition
Survive first clash, win second wave with cooldown advantage
Common mistake
Fighting split and turning a strong comp into four separate 1v1s
Draft checklist (simple and effective)
Before the match starts, your team should cover:
- One frontline anchor
- One engage or pick tool
- One consistent damage source
- One control or peel tool Optional bonus: sustain or reset utility
Best Picks For Beginners And Solo Queue Climbers
If you’re still learning, pick Hunters that teach fundamentals without deleting you for one mistake.
Beginner-friendly picks that still climb
- Felix: Consistent value, forgiving kit, strong ranked presence
- Oath: Teaches spacing and frontline discipline
- Kingpin: Teaches pick timing and fight-starting without chaos
- Celeste: Teaches zone control and safe positioning
Solo queue carry picks (when you want agency)
- Shiv: Creates her own win conditions
- Joule: Flexible playmaking and snowball potential
- Brall: Fight-ending burst when you read rotations well
How The Meta Shifts (And How To Stay Ahead)
Meta changes don’t only come from buffs and nerfs. In Supervive, they also come from Armory availability, seasonal resets, and players learning counterplay.
Two habits that keep you ahead
- Track top-player trends weekly (not once a month)
- Rebuild your loadout logic when the lobby “feels different” (faster, tankier, more dive-heavy)
The simplest adaptation rule
If you’re losing fights before you get to play, buy survival and discipline first. If you’re losing fights because enemies escape, buy confirmation and chase tools second.
FAQs About Supervive Tier List
What Is The Best Hunter In Supervive Right Now?
Shiv is the most consistently meta-defining pick in the current ranked environment because she turns mobility into kill conversion and forces the enemy to play tighter and more defensive.
How Often Does The Supervive Tier List Change?
It can shift with balance patches, but it also changes when players adapt to common strategies, and when Armory seasonal updates alter which equipment patterns dominate.
Are Supervive Builds More Important Than Tier Placement?
Very often, yes. A solid build that matches the lobby can make an A or B tier Hunter outperform a poorly built S tier pick. Build purpose matters more than copying a list blindly.
How Do I Know Which Build Path To Use In A Match?
If you’re dying early, shift to survivability. If enemies live at low HP, shift to confirmation and chase. If your team can’t start fights, shift to engage reliability or play a pick-focused plan.
Can I Climb Ranked With C Tier Hunters?
You can, but you’ll need stronger matchup knowledge, cleaner positioning, and better fight selection than you would with S or A tier picks. Treat it like specializing higher effort, but still viable with mastery.
Final Thoughts
Ranked improvement usually starts by cutting self-sabotage: forcing bad fights, building greed while getting deleted, and picking Hunters that need perfect coordination in solo queue. Begin with a stable core - Shiv, Oath, Felix, Brall, Joule, Kingpin - and widen your pool once your decisions stay clean under pressure.
The Armory system quietly drives the meta. Build with a clear goal, adapt to the lobby, and learn counterplay for common picks. When those habits lock in, matches feel less random, and climbing becomes consistent instead of exhausting.
Jump to
Supervive Tier List: Best Hunters And Meta Builds
How This Supervive Tier List Is Built
Patch And Meta Snapshot (2026)
Quick Supervive Tier List Snapshot
The Armory System
S Tier Hunters That Warp The Meta
A Tier Hunters That Win Games Consistently (With Draft Tips)
B Tier Hunters That Become Great With The Right Plan
C Tier Hunters (Playable, But More Punishing)
Supervive Builds: A Simple System That Works Across Hunters
Supervive Guide: Team Comps
Best Picks For Beginners And Solo Queue Climbers
How The Meta Shifts (And How To Stay Ahead)
FAQs About Supervive Tier List
Final Thoughts
Latest Articles
Popular Articles